

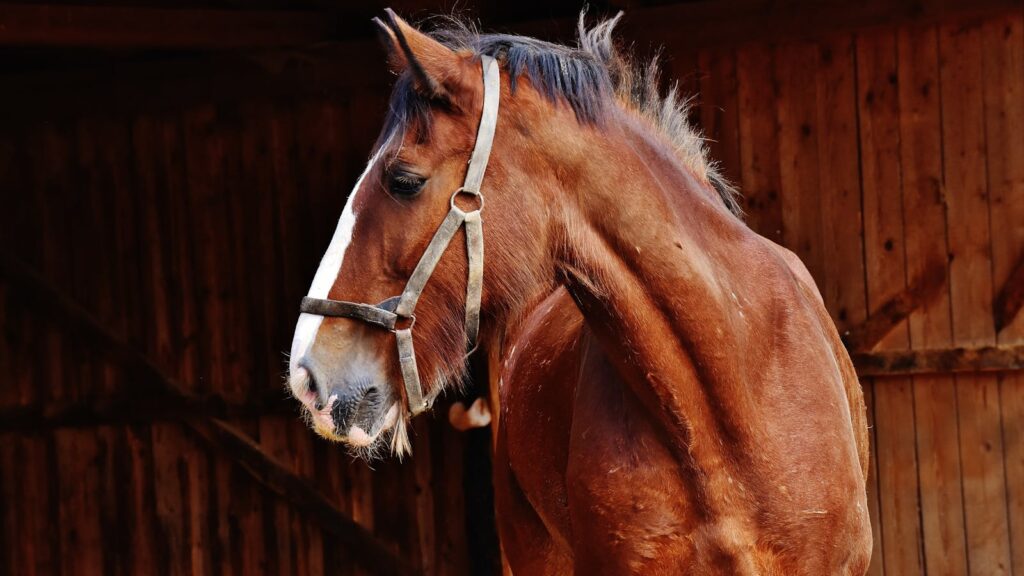
Grooming is an essential aspect of horse care that extends beyond mere aesthetics to include health and performance benefits. Among the various grooming tasks, trimming a bridle path—that small section of mane just behind the horse’s ears where the headstall of the bridle sits—is both practical and traditional in many equestrian disciplines. When done correctly, a well-maintained bridle path provides comfort for your horse by preventing mane hairs from becoming tangled in the bridle and causing irritation. While professional groomers can handle this task, many horse owners find satisfaction in learning to trim a bridle path themselves. This guide will walk you through the process of safely trimming your horse’s bridle path at home, ensuring both your safety and your equine partner’s comfort.
Understanding the Purpose of a Bridle Path

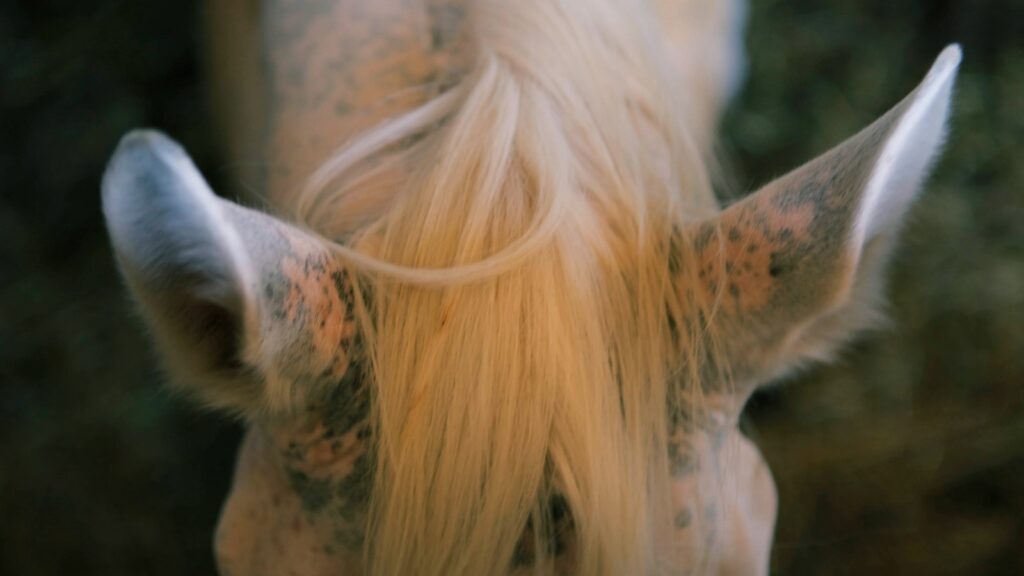
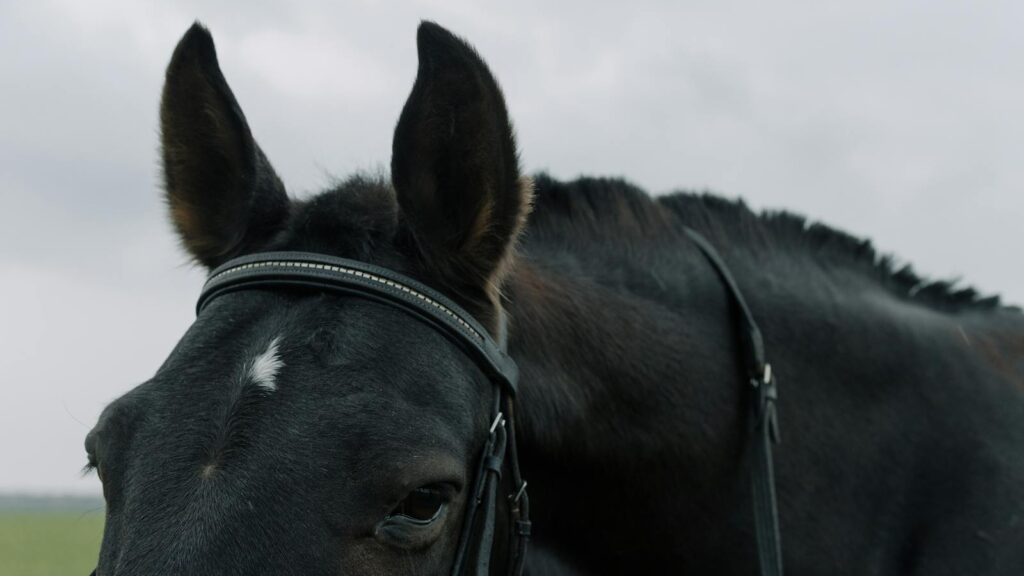
Before taking any cutting tools near your horse, it’s important to understand exactly why bridle paths exist. The primary function of a bridle path is practical—it creates a clean space where the headstall of the bridle can rest without pulling on mane hairs, which can cause discomfort and distraction for your horse. Additionally, it prevents mane hairs from becoming tangled in bridle buckles and other hardware. In many show disciplines including Western, Hunt Seat, and Dressage, a neatly trimmed bridle path is also considered part of proper turnout and presentation. The length of a bridle path varies by discipline, with Western styles typically favoring longer paths (sometimes 4-8 inches) while English disciplines often prefer shorter ones (1-2 inches). Understanding these purposes and traditions will help you determine the appropriate bridle path length for your horse based on your riding activities.
Gathering the Necessary Tools
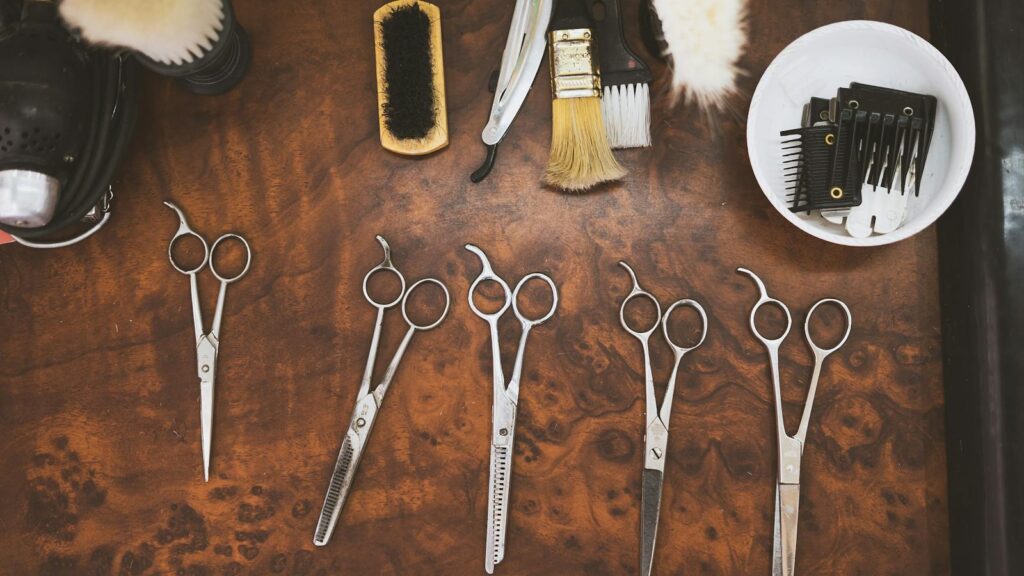
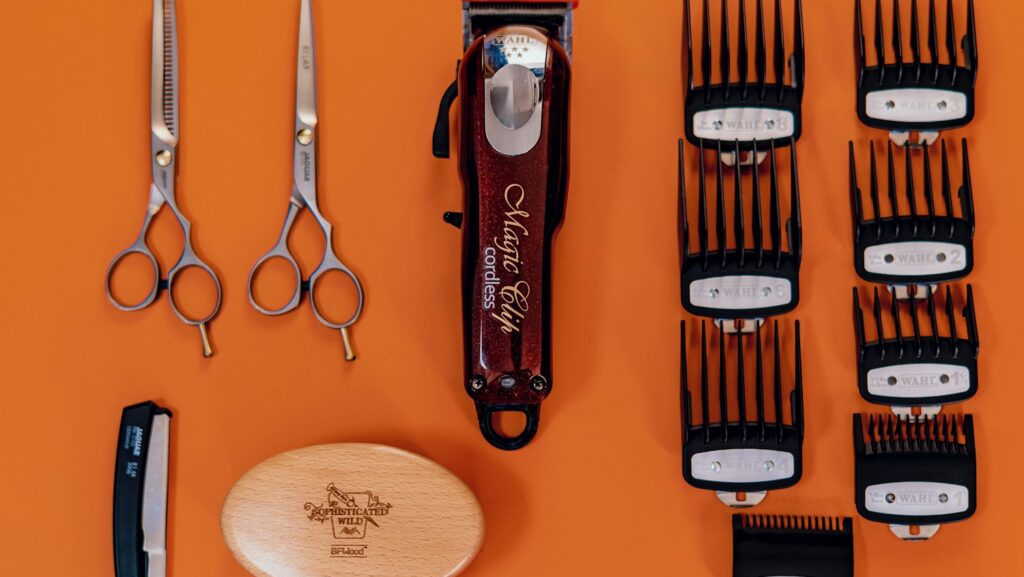
Successful bridle path trimming begins with assembling the right tools for the job. The most important tool is a pair of sharp, clean clippers specifically designed for equine grooming—many horse owners prefer smaller trimmers that offer precision for detailed work around sensitive areas. You’ll also need clipper oil to keep your blades running smoothly and prevent overheating, which could cause discomfort to your horse. Additionally, gather grooming supplies including a mane comb, a soft brush for cleanup, and potentially a towel to drape over your horse’s face to protect their eyes from falling hair. Some horse owners also keep treats on hand as positive reinforcement throughout the process. Finally, having a helper present can be invaluable, especially when working with young or nervous horses, as they can help hold and reassure the animal while you focus on the trimming task.
Creating the Right Environment
Setting up an appropriate environment is crucial for safely trimming your horse’s bridle path. Choose a quiet, familiar location where your horse feels comfortable and secure, ideally in a well-lit area that allows you to see clearly without shadows obscuring your work. The horse should be safely secured using cross-ties or have someone experienced holding them with a lead rope—never tie your horse solid when using clippers, as a sudden movement could lead to injury. Eliminate potential distractions and stressors in the surrounding environment, such as loud machinery, other horses being moved, or feeding time activities. Temperature is also important; avoid attempting to clip on extremely hot days when flies are bothersome or on very cold days when your horse might be more energetic or reactive. Creating a calm, controlled environment significantly reduces the risk of accidents during the trimming process.
Preparing Your Horse
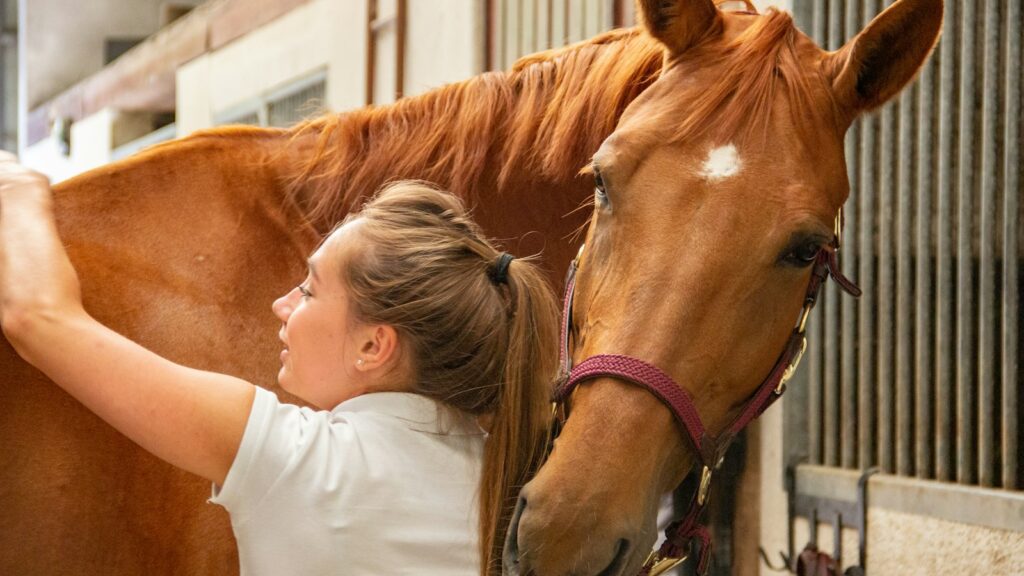
Proper preparation of your horse can make the difference between a smooth trimming session and a stressful experience for both of you. Begin by thoroughly grooming the mane and neck area to remove any dirt, debris, or tangles that could make clipping difficult or uncomfortable. Pay special attention to the poll area (between the ears) where the bridle path will be created. If your horse is unfamiliar with clippers, take time to desensitize them gradually in the days or weeks before attempting to trim the bridle path. Start by simply having the clippers nearby while grooming, then progress to having them turned on in the vicinity, and finally touching the horse with the clipper body (while turned off) before actually using them for trimming. Some horses benefit from wearing earplugs during the process to muffle the sound, while others may need a calming supplement (approved by your veterinarian) if they’re particularly anxious about the procedure.
Testing Clipper Comfort
Before diving into trimming the actual bridle path, it’s essential to ensure your clippers are functioning properly and that your horse is comfortable with them. Turn on the clippers while standing a few feet away from your horse, giving them time to hear the sound and realize it’s not threatening. Gradually move closer and test your horse’s reaction by gently touching their shoulder or neck with the back (non-cutting side) of the running clippers. Watch for signs of tension such as raised head, wide eyes, pinned ears, or shifting feet, and pause if your horse seems uncomfortable. For horses that are particularly sensitive, try using the clippers over a towel at first, gradually reducing the thickness of the barrier as they become more accustomed to the sensation. Some professional groomers recommend using a vibrating phone in a similar fashion to help desensitize horses to the feeling before introducing actual clippers. Taking the time to establish clipper comfort will make future grooming sessions much more pleasant for both you and your horse.
Determining the Appropriate Length
The ideal length of a bridle path varies based on several factors including your equestrian discipline, personal preference, and your horse’s individual conformation. For English riding disciplines, a conservative bridle path typically measures the width of your horse’s ear (approximately 1-2 inches), while Western disciplines often prefer longer paths extending 4-8 inches behind the ears. Show standards in your specific discipline may dictate particular conventions, so if you compete, consider checking breed or association guidelines or observing other competitors. For horses with very thick crests or short, thick necks, a slightly longer bridle path can create a more visually balanced appearance. Conversely, horses with thin necks or sparse manes might look better with a more conservative trim. Consider placing your bridle on your horse before trimming to see exactly where the headstall rests, which can help you make a more informed decision about the appropriate length for your particular horse and tack.
Marking the Bridle Path
Creating a clear visual guide before cutting ensures you’ll achieve the intended length and shape for your horse’s bridle path. One effective method is to place your bridle on your horse’s head normally, note exactly where the headstall sits, and then remove it for the trimming process. Some owners find it helpful to use hair clips or elastics to temporarily section off the area they plan to trim, creating a clear boundary between the bridle path area and the rest of the mane. For beginners, the width of the ear is a good standard measure—simply fold your horse’s ear back toward their neck to mark where the bridle path should end. Alternatively, you can measure with your fingers, using the width of 2-4 fingers (depending on your discipline preferences) to determine the length. If you’re particularly concerned about making a mistake, consider using chalk to draw a faint line indicating your intended cutting boundary, which will wash out after grooming.
Step-by-Step Trimming Technique

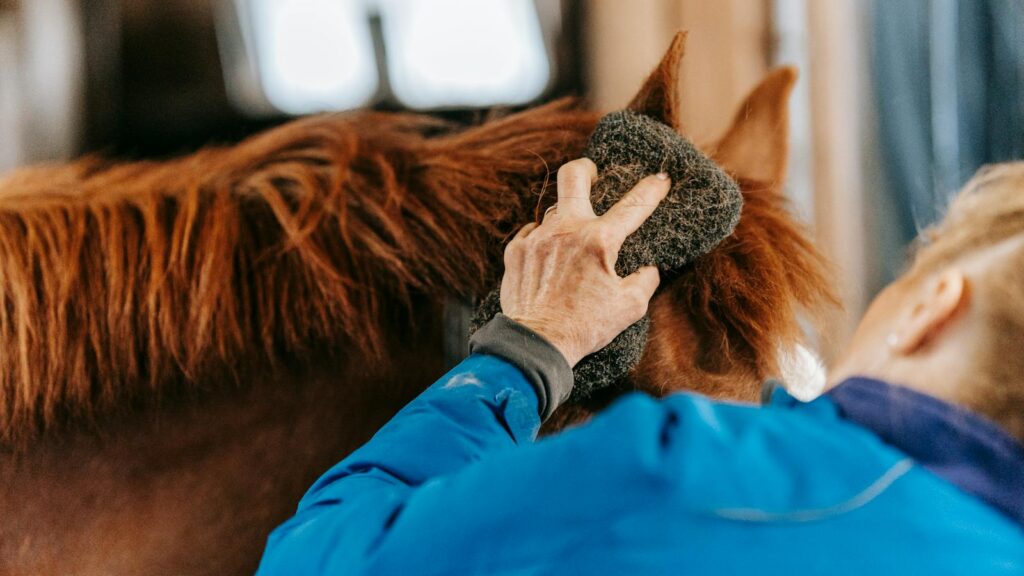
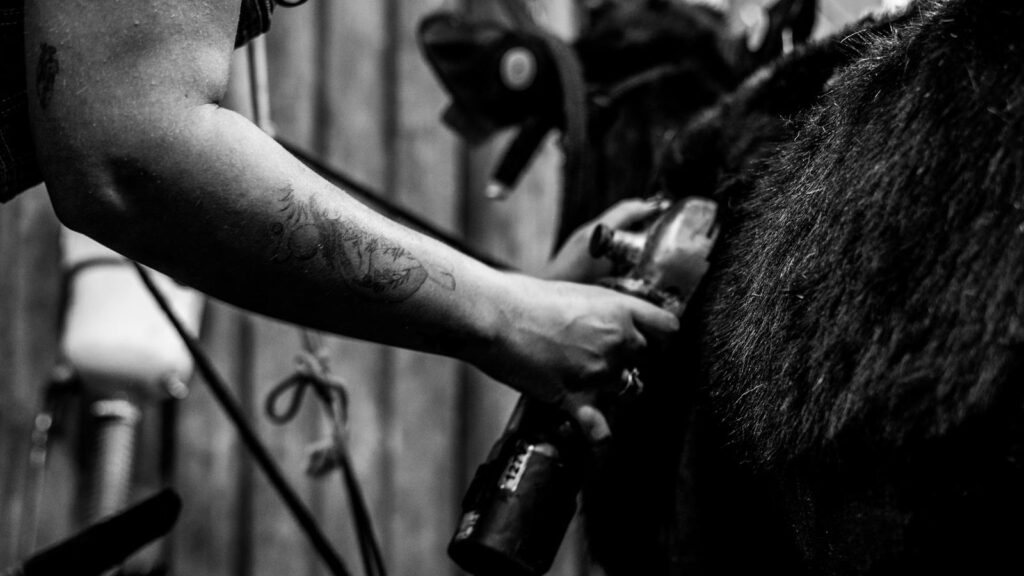
When you’re ready to begin trimming, approach the process with confidence and precision. Start by combing the mane to one side, away from where you’ll be creating the bridle path. Hold your clippers with the blade parallel to the horse’s neck, and begin at the base of the mane right behind the ears. Work in small, controlled strokes moving from front to back, gradually widening the path to your desired length. Many experienced groomers recommend clipping against the direction of hair growth for the cleanest cut. Be especially careful around the base of the ears where the skin can be more sensitive. Rather than trying to remove all the hair in one pass, make several lighter passes, checking your progress frequently by stepping back and observing from different angles. Remember that you can always trim more, but you can’t immediately replace hair you’ve cut too short. Keep your clippers well-oiled during the process to prevent them from heating up and causing discomfort to your horse.
Managing Fidgety or Nervous Horses
Working with a nervous or fidgety horse requires extra patience and specialized strategies to ensure safety for both of you. Consider breaking the trimming process into multiple short sessions over several days rather than trying to complete everything at once. Using clippers with a lower noise level can make a significant difference for sound-sensitive horses, and some owners find success by playing music in the barn to help mask the clipper sound. Having a trusted helper feed small treats during the process can give your horse something positive to focus on while you work. If your horse is particularly anxious, consider starting with just a very small bridle path and gradually extending it over multiple grooming sessions as they become more comfortable with the process. For extremely nervous horses, your veterinarian might recommend appropriate calming supplements or even sedation for the first few experiences until they learn that the procedure isn’t harmful. Remember that pushing through fear can create lasting negative associations, so proceeding slowly and respectfully is always the better approach.
Addressing Common Mistakes

Even experienced horse owners sometimes make errors when trimming bridle paths, but being aware of common mistakes can help you avoid them. One frequent error is creating an asymmetrical bridle path that appears crooked or uneven when viewed from different angles—prevent this by stepping back frequently to check your work and having someone else give you feedback if possible. Another mistake is trimming the bridle path too wide, extending beyond the natural width of the mane and creating an awkward appearance—always use the natural base of the mane as your guide for width. Some owners accidentally trim too far down the neck, creating an overly long bridle path that can look unprofessional in certain disciplines; remedy this by clearly marking your intended stopping point before beginning. Finally, using dull clippers can result in pulling hairs rather than cutting them cleanly, causing unnecessary discomfort to your horse—ensure your clipper blades are sharp, clean, and well-oiled before each use to prevent this problem.
Finishing Touches
After completing the main trimming work, taking time for proper finishing touches will elevate the professional appearance of your horse’s bridle path. Use a soft brush to gently remove any loose hair clippings from your horse’s neck, mane, and face—these can cause itching if left behind. Examine the edges of the bridle path carefully, looking for any stray longer hairs that might need trimming for a neater appearance. Some owners prefer to create a slight gradient effect at the back of the bridle path rather than an abrupt end, which can be achieved by angling your clippers to gradually increase hair length where the bridle path meets the remaining mane. After trimming, you can apply a light coat of coat polish or sheen spray to the area if desired, which can give a more polished appearance for show situations. Finally, take a moment to reward your horse with praise, treats, or a favorite activity as positive reinforcement for their cooperation during the grooming process.
Maintaining the Bridle Path
A well-groomed bridle path requires regular maintenance to keep it looking neat and serving its functional purpose. Most horses need their bridle path trimmed every 2-4 weeks, though this varies based on individual hair growth rates and the time of year (many horses grow hair more quickly in fall and winter months). Between full trimmings, you can use small scissors to carefully snip any particularly noticeable regrowth, especially before shows or important riding events. If you’re maintaining a precise length for show purposes, consider taking a photo of the freshly trimmed bridle path as a reference for future grooming sessions. When your horse is shedding their winter coat, the bridle path area may require more frequent attention as new hair grows in. Establish a regular grooming schedule that includes bridle path maintenance, and you’ll find it becomes a quick, routine task rather than a major undertaking each time.
When to Seek Professional Help

While many horse owners successfully maintain their horse’s bridle path at home, certain situations warrant seeking professional assistance. If your horse shows extreme anxiety or dangerous behavior during the clipping process despite your best desensitization efforts, a professional with experience handling nervous horses may have techniques and equipment to make the process safer. Very young horses having their first bridle path trimmed often benefit from a professional approach to ensure the initial experience is positive and sets a good precedent for future grooming. If you’re preparing for a major show or competition and are uncertain about achieving the exact presentation standards for your discipline, consulting with a show groom can help you understand the specific expectations. Additionally, if you’ve made a mistake in trimming that has left your horse’s bridle path looking uneven or inappropriate for your discipline, a professional can often help correct the issue or advise on the best way to grow it out. Remember that seeking help isn’t a sign of failure but rather responsible horse ownership.
conclusion
Trimming your horse’s bridle path at home can be a rewarding aspect of horse care that enhances both functionality and appearance. By understanding the purpose, preparing properly, and using careful technique, most horse owners can master this grooming skill with practice. The key to success lies in patience, creating a positive experience for your horse, and maintaining consistency in your approach. Whether you’re preparing for competition or simply enjoying the bond that comes with caring for your equine partner, a well-maintained bridle path is a small but significant detail that reflects your dedication to proper horse care. As with all aspects of horsemanship, the journey of learning and improvement is ongoing, and each grooming session is an opportunity to strengthen the trust between you and your horse.