
Neck reining represents one of the most elegant communication methods between rider and horse, allowing for subtle, one-handed direction that appears almost magical to observers. This refined technique enables riders to guide their mount with minimal visible cues, creating the seamless partnership seen in Western riding disciplines from reining competitions to everyday trail riding. Whether you’re preparing for competition or simply want to enhance your riding experience, teaching your horse to neck rein properly builds confidence, improves responsiveness, and elevates your horsemanship to new heights. This comprehensive guide will walk you through the process of developing this essential skill, transforming your direct-reined horse into one that responds beautifully to neck reining cues.
Understanding the Fundamentals of Neck Reining
Neck reining differs fundamentally from direct reining in that the cue comes from the opposite side of the desired turn. When neck reining, the rider lays the rein against the horse’s neck in the direction opposite to where they wish to go—placing the rein against the left side of the neck signals a right turn, and vice versa. This technique developed primarily in Western riding traditions where cowboys needed one hand free for roping or other tasks while still maintaining control of their mount. The pressure of the rein against the neck becomes a positional cue that the horse learns to move away from, rather than the direct pull used in English-style direct reining. Mastering neck reining requires patience and consistent training, as you’re essentially teaching your horse a new language of subtle communication.
Assessing Your Horse’s Readiness for Neck Reining
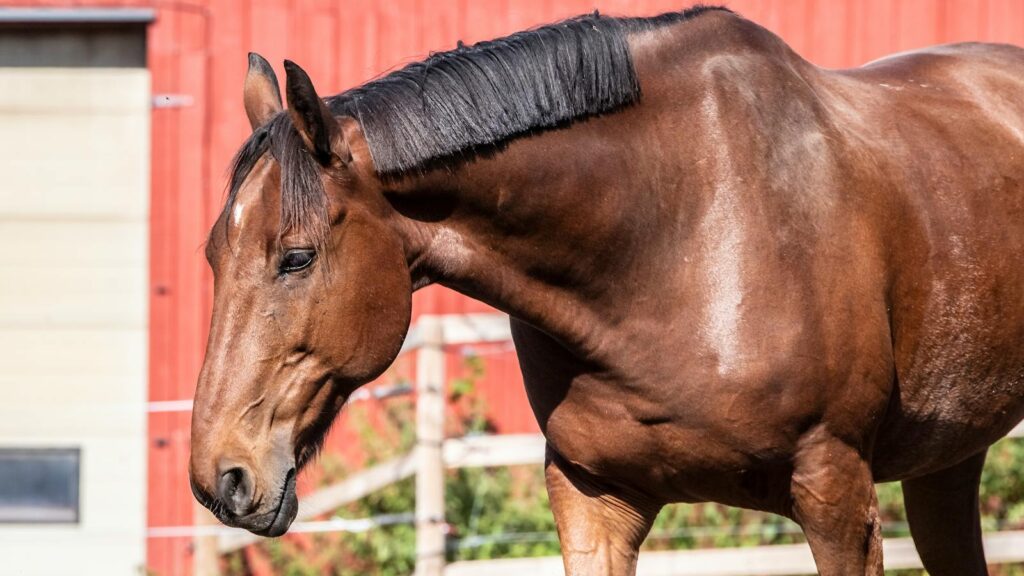
Before beginning neck rein training, your horse should have a solid foundation in basic riding commands and direct reining techniques. Your mount should consistently respond to leg pressure, understand and respect bit contact, and maintain a steady pace without constant rider input. Ideally, your horse should be comfortable with different riding environments and demonstrate good focus during training sessions. Young horses (typically 3-5 years old) often adapt more quickly to new training concepts, but horses of any age can learn neck reining with proper instruction. If your horse shows signs of confusion or resistance to basic commands, address these issues before attempting to introduce neck reining techniques.
Selecting the Right Equipment for Training

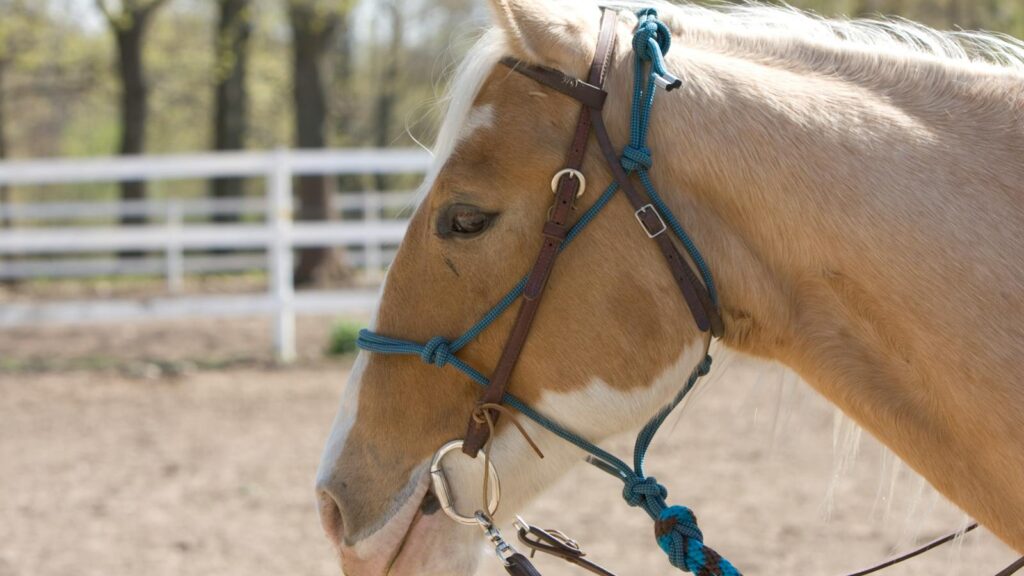
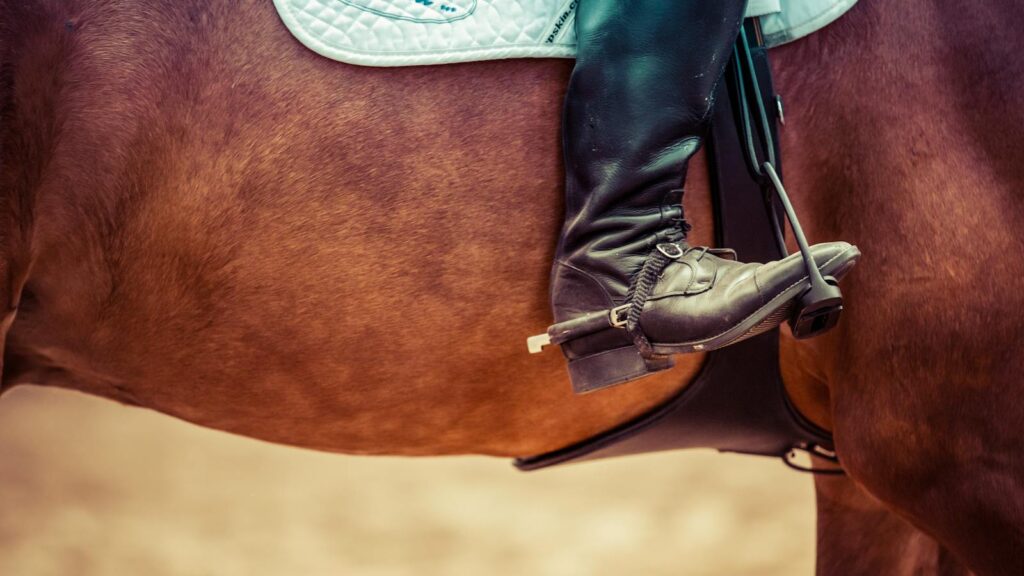
Using appropriate tack significantly impacts your success when teaching neck reining. A Western curb bit with shanks is traditional for finished neck reining horses, but for training purposes, a snaffle bit often works best as it allows for clearer direct rein cues during the transition period. Many trainers recommend a split rein setup rather than closed reins, as split reins offer more precise control for the combined direct and neck reining cues you’ll use during training. Your saddle should fit properly and allow freedom of movement—an ill-fitting saddle can distract your horse and impede its ability to focus on new commands. Consider using a training stick or light crop as an extension of your leg aids, particularly when first introducing the concept of moving away from neck pressure.
Starting with the Two-Handed Bridge Method
The bridge method provides an excellent starting point for introducing neck reining concepts while maintaining the familiar direct rein communication. Begin by holding both reins in both hands, creating a “bridge” across your horse’s neck, with your hands positioned about 4-6 inches apart. When initiating a turn, apply your traditional direct rein cue while simultaneously allowing the opposite rein to rest against your horse’s neck in the position it would be during a neck rein cue. For example, when turning right, pull slightly with your right hand while positioning the left rein against the left side of the neck. This combined cue helps your horse make the mental connection between the familiar direct pull and the new neck pressure. Practice this method at a walk initially, gradually introducing it at faster gaits as your horse begins to understand the relationship between the cues.
Introducing One-Handed Riding Gradually

Once your horse responds consistently to the bridge method, begin the transition to true one-handed neck reining by holding both reins in your non-dominant hand. Position your hand centrally above the withers, allowing equal tension on both sides when moving straight ahead. When turning, maintain light contact with the direct rein while simultaneously laying the opposite rein against the neck to create the neck rein cue. During this phase, be prepared to revert temporarily to two-handed direct reining if your horse becomes confused, then try again. Consistency in hand position is crucial—many riders inadvertently shift their hand position when turning, creating inconsistent pressure that confuses the horse. Practice riding straight lines and gradual turns before attempting sharper direction changes, giving your horse time to process the new cueing system.
Reinforcing Neck Pressure with Leg Cues
Effective neck reining relies on the coordination of multiple cues, with leg pressure playing a critical supporting role in communicating your intentions to your horse. When turning right with neck reining, the left rein presses against the neck while your left leg applies pressure behind the girth to encourage the horse’s hindquarters to follow the turn. This leg cue reinforces the neck rein signal and helps prevent your horse from simply bending its neck without actually turning its body. Practice applying these coordinated cues at a walk until your horse responds smoothly, then gradually introduce them at the trot and eventually the canter. Many horses actually understand leg cues more intuitively than rein pressure, so emphasizing this aspect can accelerate the neck reining learning process.
Using the Indirect (Supporting) Rein Effectively

While the neck rein provides the primary turning cue, the supporting rein (sometimes called the indirect rein) plays a crucial but often overlooked role in refined neck reining. The supporting rein is the one on the inside of your turn, and while it doesn’t actively pull, it maintains light contact to support the horse’s balance and prevent over-turning. When executing a right turn, the left rein creates neck pressure while the right rein maintains gentle contact, ready to provide refinement if needed. This subtle supporting rein contact helps your horse maintain proper body position through turns and prevents the development of heavy leaning on the neck rein. Professional trainers often describe this as “keeping the door open on one side while closing it on the other,” creating a channel for movement rather than simply blocking one direction.
Developing Consistency Through Pattern Work
Pattern work provides structured repetition that reinforces neck reining concepts while keeping training sessions engaging for your horse. Start with simple patterns like large figure eights, serpentines, or circles at a walk, focusing on smooth, consistent cues rather than precise execution. As your horse becomes more responsive, gradually decrease the size of your patterns to practice tighter turns and more precise movements. Working in a confined space like a round pen can be helpful initially, as it limits distractions and provides clear boundaries. Incorporate pattern variations to prevent your horse from anticipating turns based on location rather than cues—for example, perform figure eights in different areas of your riding space rather than always in the same spot.
Troubleshooting Common Neck Reining Problems
When horses struggle with neck reining, specific issues tend to arise that require targeted solutions. One common problem is the “shoulder drop,” where the horse turns its head but continues traveling forward with its shoulder, essentially ignoring the turning cue. This requires reinforcement of your leg aids to push the shoulder in the turning direction. Another frequent issue is over-sensitivity where the horse makes exaggerated turns with minimal neck pressure, usually indicating too much bit pressure during training. In this case, lighten your rein contact and focus on rewarding subtle responses. Horses that resist the neck rein by stiffening against the pressure often need to go back to fundamentals of yielding to pressure in groundwork exercises. Remember that confusion often manifests as resistance—if your horse seems stubborn, consider whether your cues might be inconsistent or unclear rather than assuming disobedience.
Progressing to Advanced Neck Reining Maneuvers
Once your horse responds consistently to basic neck reining cues, you can begin introducing more advanced maneuvers that showcase refined communication. Start with variations in speed within gaits, practicing smooth transitions from collected to extended walk or trot while maintaining neck rein control. Progress to practicing rollbacks, where the horse stops, turns 180 degrees on its hindquarters, and departs in the new direction—initially with supporting direct rein help, eventually with neck reining alone. Spins and pivots represent advanced applications of neck reining, requiring your horse to rotate around its inside hind leg with minimal forward movement. These advanced maneuvers build on your horse’s understanding of basic neck reining principles while developing the suppleness and responsiveness that characterize truly accomplished riding partnerships.
Maintaining Lightness and Responsiveness
A common mistake in neck reining training is inadvertently teaching horses to respond only to increasingly heavy pressure, resulting in dull, unresponsive mounts. To maintain lightness, consistently reward the slightest try from your horse with immediate release of pressure and verbal praise. Incorporate frequent “tuning up” exercises where you ask for responses with the lightest possible cue, gradually decreasing pressure until your horse responds to nearly invisible signals. Regular groundwork focusing on yielding to pressure from different directions helps reinforce the concept of moving away from pressure rather than bracing against it. Consider periodically returning to direct reining exercises to maintain your horse’s understanding of bit pressure and prevent reliance solely on heavy neck cues for direction.
Building Duration and Reliability in Various Environments

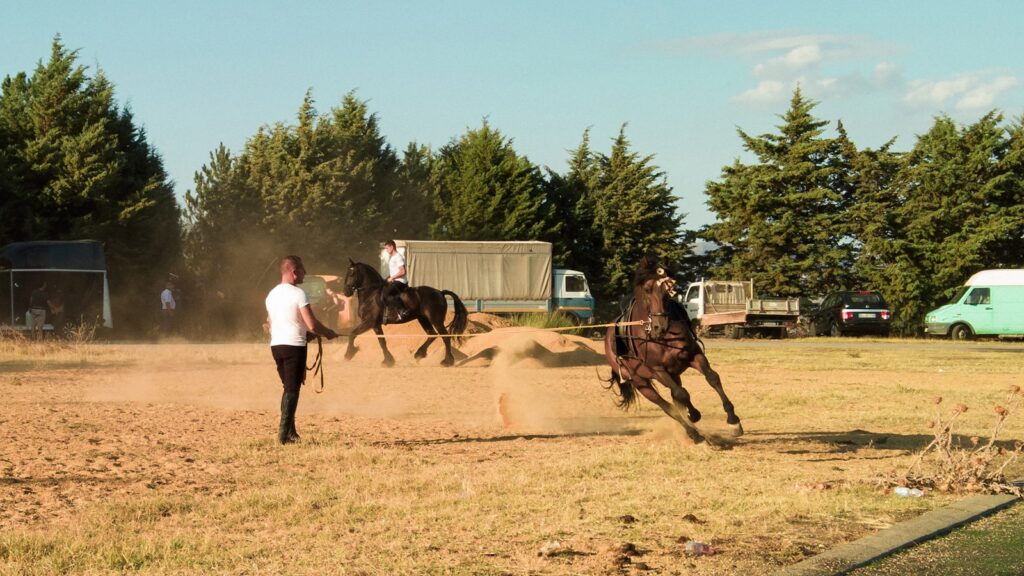
A truly neck-reined horse maintains responsiveness regardless of environment, distractions, or duration of riding. Begin building reliability by practicing in your familiar training area until responses become automatic, then gradually introduce new variables one at a time. Start by riding in different sections of your regular arena, then move to new arenas, trail settings, or around other horses. Practice neck reining for incrementally longer periods, building from 15-minute sessions to extended trail rides where consistent response is required. Situations with natural distractions provide excellent opportunities to reinforce neck reining—navigating around obstacles, crossing water, or passing other horses all require clear communication through your reining cues. Remember that consistency in your expectations is crucial; relaxing your standards in challenging environments teaches your horse that compliance is optional rather than required.
Advancing to One-Finger Neck Reining
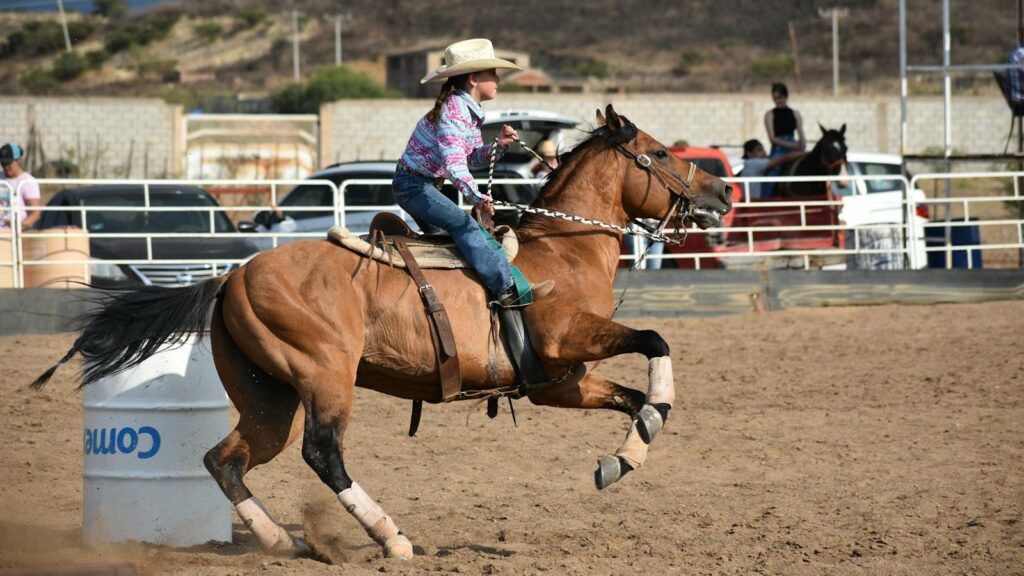
The pinnacle of neck reining finesse is the ability to guide your horse with minimal pressure, often demonstrated by accomplished Western riders controlling their mounts with just one finger on the reins. This level of refinement comes from consistently rewarding increasingly subtle responses throughout the training process. To develop one-finger control, begin by holding your reins with two fingers, then progress to using only your index finger to apply neck pressure while maintaining your supporting contact. Focus on making your cues progressively lighter while maintaining clear expectations for your horse’s response. This advanced level of neck reining creates the beautiful harmony seen in reining competitions and working cow horse events, where horses appear to read their riders’ minds, responding to nearly invisible cues. Remember that achieving this level of refinement typically takes years of consistent training and is built on a foundation of mutual trust and clear communication.
Mastering the Art of Neck Reining

Teaching your horse to neck rein represents one of the most rewarding journeys in horsemanship, transforming the basic mechanics of riding into an art form of subtle communication. By progressing methodically through these training stages—from the foundational bridge method to advanced one-handed guidance—you develop not just a technical skill but a deeper partnership with your horse based on clear, consistent communication. Remember that patience and consistency yield better results than rushed training, and celebrate small improvements along the way. With dedicated practice and attention to detail, you’ll develop a horse that responds to the lightest neck rein cues with willing precision, creating that magical connection that defines truly accomplished riding.