
Horse agility, a discipline that combines elements of groundwork, obstacles, and communication, has become increasingly popular among equestrians of all levels. Creating your own agility course at home provides an excellent opportunity to develop your horse’s confidence, responsiveness, and mental agility without the cost of professional facilities. Whether you have a small paddock or sprawling acreage, a DIY agility course can be tailored to your space and budget while offering endless training possibilities. This guide will walk you through everything you need to know to design, build, and implement a horse agility course that both you and your equine partner will enjoy.
Understanding Horse Agility Basics
Horse agility is fundamentally about guiding your horse through a series of obstacles, either in-hand or at liberty, without using force or creating stress. The discipline emphasizes clear communication, trust-building, and developing your horse’s problem-solving abilities. Unlike traditional jumping courses, agility focuses on precision, willingness, and mental flexibility rather than speed or athleticism. A well-designed course should challenge your horse to think through situations, build confidence around novel objects, and strengthen the partnership between horse and handler. Before setting up your first obstacle, spend time observing how your horse naturally moves, what causes hesitation, and which learning approaches yield the best results for your specific equine.
Assessing Your Available Space
The beauty of horse agility lies in its adaptability to virtually any space. Before gathering materials, take time to evaluate your available area, considering factors like terrain, existing structures, and safe boundaries. A flat, level surface is ideal for beginners, though gentle slopes can add interesting challenges for more advanced horses. Measure your usable space to determine how many obstacles can fit comfortably while allowing sufficient room for approach and exit pathways. Even small paddocks can accommodate meaningful agility work if you design a layout where obstacles can be easily reconfigured or rotated. Consider seasonal changes too—areas that become muddy in wet weather or overly hard in drought conditions might need alternative plans.
Budgeting for Your DIY Course
Creating an agility course doesn’t have to break the bank, as many effective obstacles can be constructed from repurposed items. Set a realistic budget based on your available funds, but remember that investing in a few quality foundation pieces may be more cost-effective than replacing cheaper options repeatedly. Prioritize safety-critical elements like sturdy poles and secure footing over aesthetic considerations. Many farm supply stores offer discounts on slightly damaged items that remain perfectly functional for obstacle use. Consider joining horse agility clubs or online communities where members often share resources, plans, or even equipment. Track your expenses as you build, separating essential items from “nice-to-have” additions that can wait until later phases of your course development.
Essential Safety Considerations
Safety must be the foundational principle of any agility course design. All obstacles should be constructed to break away or collapse safely if your horse makes contact, preventing potential injuries from fixed barriers. Avoid materials with sharp edges, protruding nails, or splinters that could harm either horse or handler. Check your course regularly for hazards like ground holes, unstable footing, or loose components that could cause accidents. When introducing horses to the course, always use appropriate protective equipment including sturdy boots and gloves for handlers, and consider safety headgear even for groundwork. Maintain clear escape routes for both horse and human at all points on the course, and never tie a horse to any part of an obstacle. Remember that safe distances between obstacles depend on your horse’s size, stride length, and experience level.
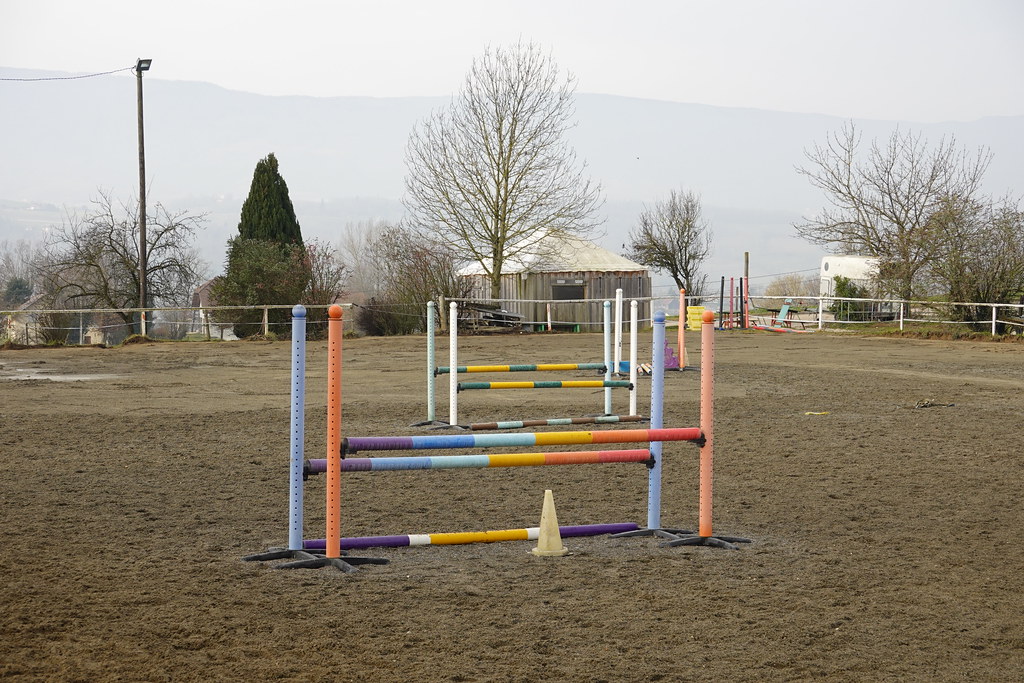
Starter Obstacles for Beginners
For horses new to agility work, begin with simple, non-threatening obstacles that build confidence rather than challenge it. Ground poles laid flat offer an excellent starting point, teaching your horse to watch their feet and negotiate spacing changes. A single pool noodle secured horizontally creates a visual barrier without serious consequences if knocked. Tarps laid flat on the ground introduce horses to different textures and sounds underfoot, while gradually preparing them for more complex obstacles. Simple L-shaped corridors made from ground poles help horses understand the concept of following a specific path with the handler. These fundamental obstacles may seem basic, but they establish crucial skills like foot awareness, handler focus, and willingness to approach novel objects—all prerequisites for more advanced agility work.
Creating Versatile Tunnel Obstacles
Tunnel-type obstacles provide excellent sensory challenges that develop your horse’s trust and willingness to enter confined spaces. A simple tunnel can be created using two rows of straw bales with a tarp draped over them, creating an enclosed passage that remains airy enough to prevent claustrophobia. For smaller versions, consider using pool noodles attached to upright poles, creating a flexible “car wash” effect that touches the horse lightly as they pass through. Fabric strips hanging from a horizontal pole offer a similar sensory experience with less physical contact. When introducing tunnel obstacles, begin with very short, wide, and low versions, gradually increasing the length, narrowness, and height as your horse’s confidence grows. The most successful tunnel designs allow the horse to see through to the exit point, preventing the panic that can accompany feeling truly enclosed.
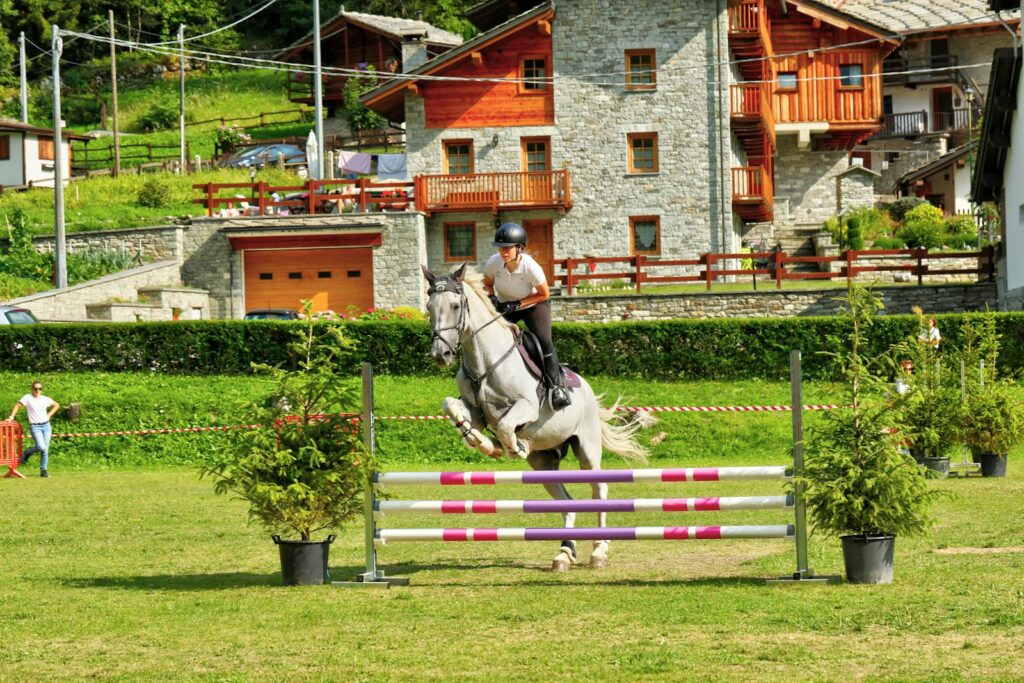
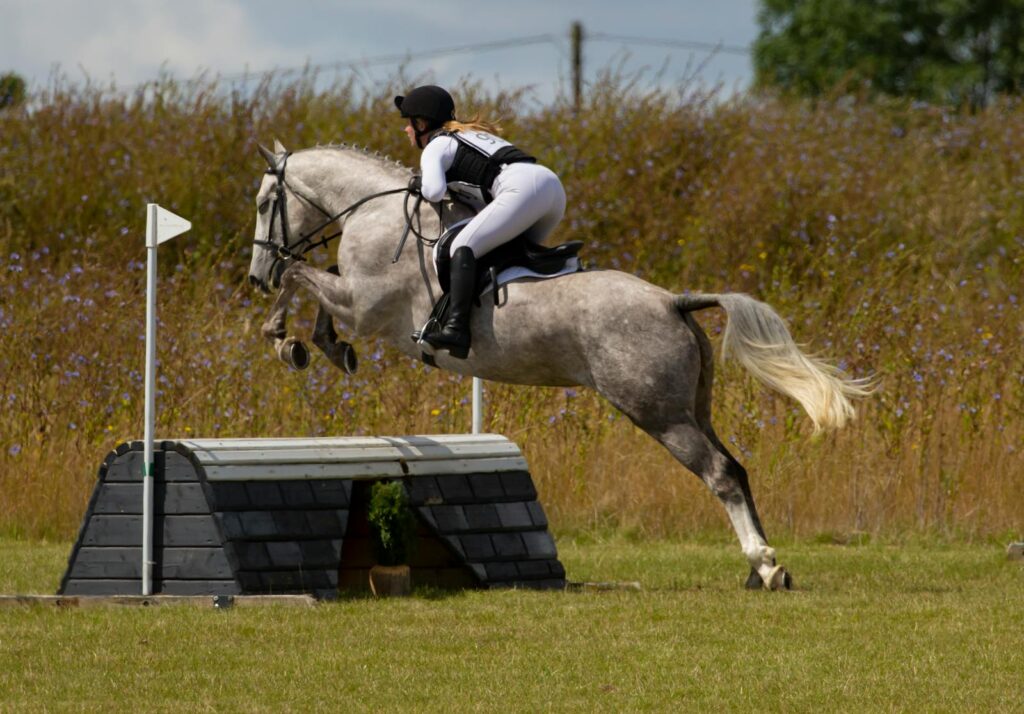
Building Elevated and Raised Obstacles
Raised obstacles add a vertical dimension to your agility course, encouraging your horse to lift feet with precision and develop body awareness. Small bridges can be constructed using sturdy wooden pallets covered with plywood and rubber matting for traction, creating a platform just a few inches off the ground. For cavaletti-style raised poles, use PVC pipes resting in notched landscape timbers or commercial cavaletti blocks that allow height adjustments. A teeter-totter effect can be achieved by securing a thick plywood board over a central support, though this more advanced obstacle should only be introduced after solid groundwork foundations. When creating elevated obstacles, always ensure the structure can support at least twice your horse’s weight, with special attention to secure footing that prevents slipping. For beginners, start with obstacles barely off the ground, focusing on the concept before increasing height challenges.
Designing Precision Navigation Challenges
Precision navigation obstacles teach horses to place their feet carefully and respond to subtle directional cues from handlers. Create slalom courses using evenly spaced traffic cones, fence posts, or barrels that horses must weave through without touching. Labyrinth patterns built from ground poles or low walls require thoughtful footwork and turning on command. For advanced precision work, set up tight figure-eight patterns or small circles marked with flour or sand that the horse must follow precisely. Backing obstacles, where horses must walk backward through a defined pathway, add another dimension to precision work, developing different muscle groups and mental focus. When designing these challenges, consider your horse’s natural turning radius and the space needed for smooth direction changes without creating frustration.
Incorporating Water and Texture Elements
Varying the ground surfaces in your agility course helps horses develop confidence across different textures and sounds. A simple water crossing can be created using a heavy-duty tarp with slightly raised edges, filled with just an inch or two of water to introduce the concept without overwhelming cautious horses. Textured pathways using rubber mats, carpet samples, or even bubble wrap secured to plywood create interesting sensory experiences for horses to navigate. Gravel areas, sand pits, or wood chip sections provide natural texture variations that improve proprioception—your horse’s awareness of foot placement and balance. When introducing these elements, allow horses to investigate at their own pace, rewarding even small attempts to engage with unfamiliar textures. Some horses may initially refuse certain surfaces entirely, requiring patient, incremental exposure beginning with just touching a single hoof to the new texture.
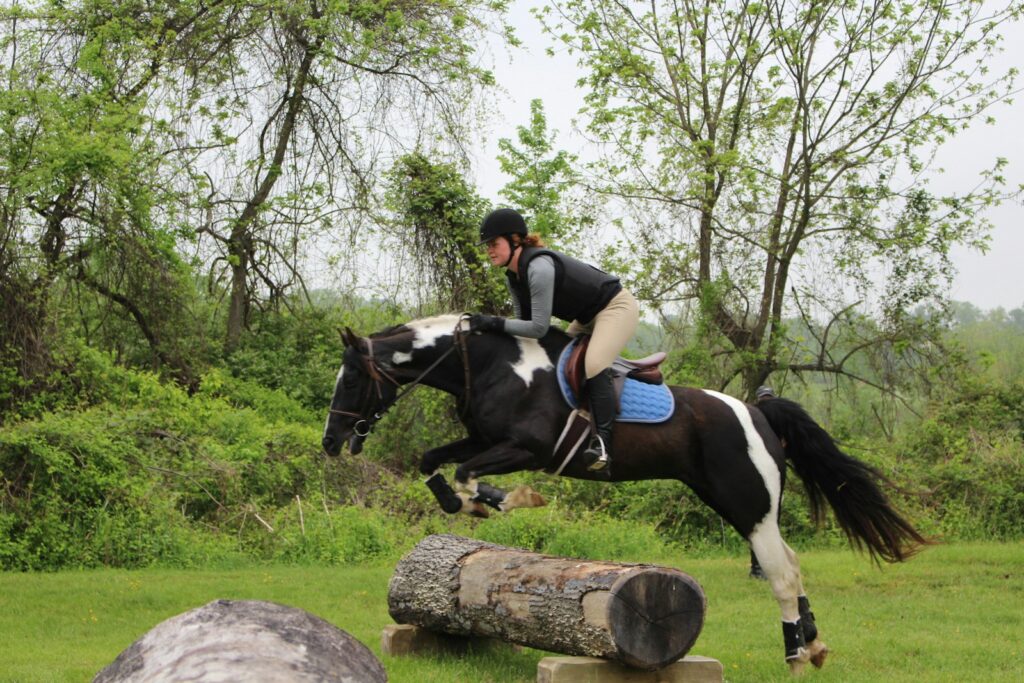
Creating Dragging and Pulling Challenges
Dragging obstacles teach horses to manage pressure and develop confidence with objects moving behind them. Begin with lightweight items like a small tarp or burlap sack attached to a long rope that can be gradually introduced to the horse’s comfort zone. As confidence builds, progress to dragging small logs, lightweight tire casings, or purpose-built drag sleds that make contact with the ground. These exercises develop your horse’s understanding of steady pressure and willingness to continue forward motion despite resistance. Always introduce dragging exercises from the ground first, establishing clear communication before attempting mounted work. For safety, use quick-release attachments and never wrap drag lines around your body or hands. Progressive loading techniques work best, where the drag item is initially carried by the handler, then placed on the ground near the horse, and finally attached with increasingly longer connection points.
Constructing Portable vs. Permanent Obstacles
When designing your course, consider the benefits of both permanent and portable obstacles. Permanent installations like bridge platforms, fixed poles in ground sleeves, or dedicated gravel areas provide consistency and require less setup time for regular practice sessions. Portable obstacles offer flexibility to create new challenges, easily adjust difficulty levels, and optimize limited space through reconfiguration. Many effective designs combine both approaches—permanent anchor points with removable components that can be stored when not in use. For portable obstacles, prioritize lightweight materials and manageable sizes that can be moved by one person without strain. Wheeled carts or dedicated storage areas near your practice space help maintain organization and protect equipment from weather damage when not in use. Some of the most versatile designs include stackable elements that can function independently or combine to create more complex challenges.
Developing Progressive Training Sequences
The most effective agility training follows a thoughtful progression that builds your horse’s skills systematically. Begin by introducing each obstacle individually, allowing thorough familiarization before combining elements. Once single obstacles are confidently navigated, create simple sequences of two or three linked challenges, maintaining generous spacing between elements. As competence grows, develop more complex patterns with tighter transitions and directional changes. Keep training sessions positive by ending on success, even if that means returning to simpler obstacles after attempting more difficult ones. Document your horse’s progress by maintaining a training journal noting which sequences worked well and where challenges arose. This methodical approach prevents the common pitfall of advancing too quickly, which can undermine confidence and create resistance to the entire agility concept.
Maintaining and Updating Your Course
A well-maintained agility course remains safe and continues to engage your horse’s interest over time. Establish a regular inspection routine checking for structural integrity, protruding fasteners, or weather damage that could create hazards. Clean obstacles as needed, particularly those with ground contact that may accumulate mud or debris affecting stability. Refresh your course periodically by rearranging obstacle sequences, adjusting difficulty levels, or introducing new elements that prevent your horse from memorizing patterns and losing interest. Seasonal considerations should factor into maintenance plans—wooden elements may need weatherproofing treatments, while fabric components might require storage during harsh weather. Budget for occasional replacement of high-wear items like pool noodles, tarps, or foam components that deteriorate with exposure and use. With proper care and creative updates, a home agility course can provide years of valuable training opportunities while continuing to challenge both horse and handler.
Incorporating Agility into Broader Training Goals
Horse agility offers benefits that extend far beyond the obstacles themselves, becoming a valuable component of comprehensive equine development. Use agility sessions to address specific training challenges—horses that rush can benefit from precision obstacles requiring careful foot placement, while hesitant horses gain confidence through progressive exposure to novel situations. Incorporate agility elements into preparation for other disciplines, such as using ground poles to improve dressage movement quality or texture obstacles to prepare trail horses for varied terrain. Schedule regular agility work between more intensive training sessions as mental breaks that keep horses engaged and prevent burnout from repetitive exercises. The problem-solving and communication skills developed through agility work transfer remarkably well to riding, often resolving under-saddle issues by improving the fundamental partnership between horse and human.
Creating a DIY horse agility course represents an investment in your horse’s physical and mental development while strengthening your partnership through shared challenges. Whether you implement a simple course with just a few obstacles or develop an elaborate training ground, the principles remain consistent: safety first, progressive learning, and positive reinforcement. The beauty of home agility training lies in its accessibility—with creativity and basic materials, equestrians of all experience levels can provide their horses with stimulating, confidence-building activities regardless of budget constraints. As you and your horse navigate your custom course together, you’ll discover not just improved obedience and athleticism, but a deeper level of communication and trust that enhances all aspects of your equestrian journey.