
Properly fitting tack isn’t just about comfort—it’s essential for your horse’s health, performance, and your safety as a rider. An ill-fitting saddle can cause pain, muscle damage, behavioral issues, and even long-term back problems for your equine partner. Meanwhile, improperly sized bridles, girths, and other equipment can create pressure points, rubs, and resistance during riding. Learning to measure your horse accurately for saddle and tack fit is a fundamental skill every equestrian should master. This comprehensive guide will walk you through the process of measuring your horse for various pieces of equipment, ensuring both you and your horse enjoy comfortable, productive riding sessions.
Understanding the Importance of Proper Fit
Proper tack fit directly impacts your horse’s willingness to work, physical health, and overall performance. When a saddle doesn’t fit correctly, it can create pressure points along the spine or withers, causing pain that might manifest as behavioral issues like bucking, rearing, or refusing to move forward. Over time, an ill-fitting saddle can lead to muscle atrophy, white hairs from pressure points, and even nerve damage in severe cases. Beyond physical concerns, poorly fitted tack can compromise rider safety and limit effective communication between horse and rider. The investment of time in learning proper measurement techniques pays dividends in your horse’s comfort, responsiveness, and longevity as a riding partner.
Gathering the Essential Measurement Tools

Before beginning the measurement process, assemble the proper tools to ensure accuracy and consistency. A flexible measuring tape is essential for taking curved measurements around your horse’s body. A saddle fitting template or flexible curve can be invaluable for capturing the exact contour of your horse’s withers and back. Some equestrians find a yardstick or straight edge helpful for certain linear measurements, while a weight tape can provide insight into appropriate equipment sizing based on your horse’s weight class. Additionally, keep a notebook handy to record all measurements, as these may change over time with conditioning, age, or season. Taking clear photographs from different angles can also serve as valuable reference points when consulting with saddle fitters or tack specialists.
Assessing Your Horse’s Overall Conformation

Before taking specific measurements, spend time observing your horse’s overall conformation as this significantly impacts saddle and tack requirements. Note whether your horse has high, medium, or low withers, as this affects saddle clearance needs. Evaluate the length and shape of your horse’s back—some breeds have notably short backs requiring specialized saddle designs. Observe your horse’s shoulder angle and movement, as prominent shoulders may require saddles with more forward-flared panels. Pay attention to whether your horse has a level topline or if there’s a dip behind the withers or a roached back. Additionally, note asymmetries in muscle development, as these may indicate past ill-fitting equipment or require special accommodation in saddle flocking or padding choices.
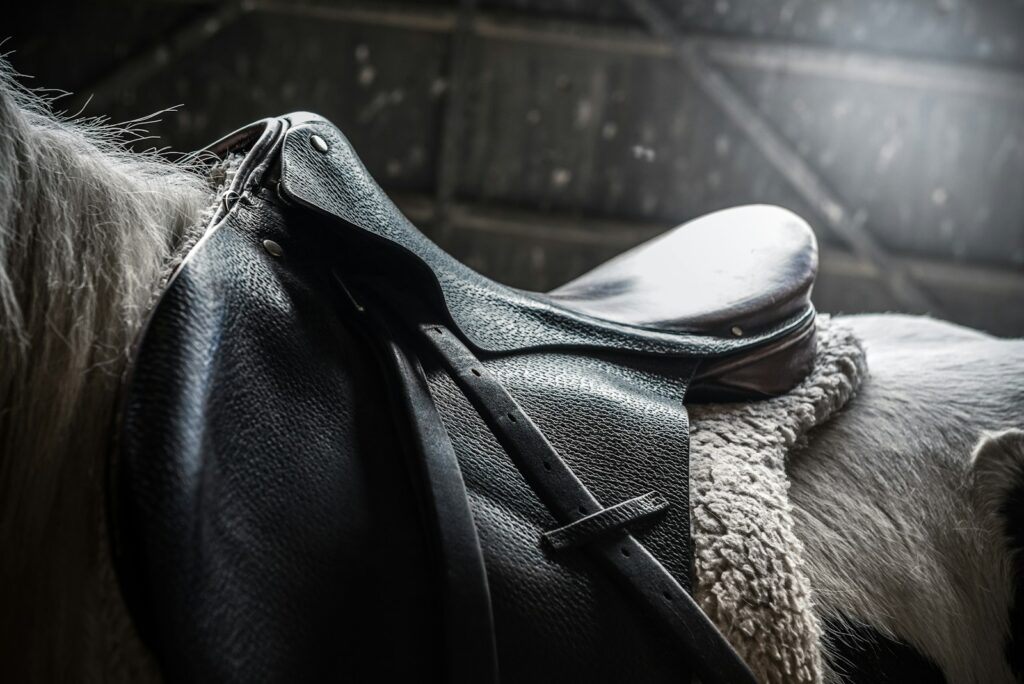
Measuring for Saddle Width
Saddle width, often expressed as tree width, is perhaps the most critical measurement for proper saddle fit. To determine the appropriate width, place your hand on edge at the base of your horse’s withers and slide it backward about 2-3 inches to where the saddle’s tree points would rest. Using a flexible curve or saddle template, mold it to match the contour of your horse’s back at this point, then transfer this shape to paper. Measure the angle between the two sides—narrower angles (less than 90 degrees) indicate a narrow-shouldered horse requiring a narrow tree, while wider angles suggest the need for a wide or extra-wide tree. Remember that this measurement should be taken with your horse standing square on level ground with his head in a natural, relaxed position to ensure accuracy.
Determining Saddle Length Requirements
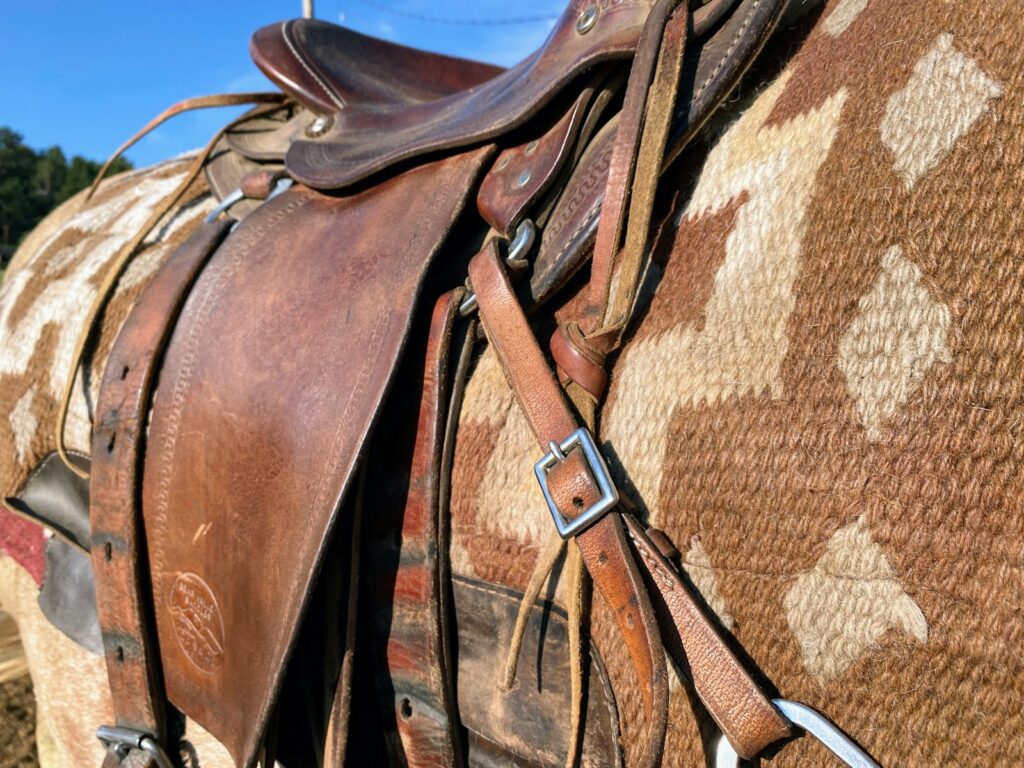
A saddle that’s too long can extend beyond your horse’s supportive back structure, causing discomfort and potential damage. To measure for proper saddle length, locate your horse’s last thoracic vertebra (T18) by finding the point where the ribcage ends—this is the absolute limit for where a saddle should sit. From the base of the withers (approximately 2-3 inches behind the highest point), measure along the spine to about 1-2 inches before this last thoracic vertebra to determine maximum saddle panel length. For Western saddles, ensure the bars don’t extend beyond the horse’s 18th rib, and the back edge of the skirt shouldn’t reach the horse’s loins. Different disciplines and riding styles require different saddle lengths, so consider your intended use when selecting appropriate saddle dimensions.
Evaluating Wither Clearance Needs

Proper wither clearance prevents painful pressure and pinching that can severely impact your horse’s comfort and willingness to work. To assess wither clearance needs, measure the height of your horse’s withers from the base to the highest point, as horses with prominent withers require saddles with higher gullets. The standard recommendation is 2-3 fingers of clearance between the pommel and the withers when the rider is seated, but high-withered horses may need additional space. When testing a saddle, check clearance both before mounting and while seated, as weight can significantly compress the saddle onto the withers. Remember that clearance should remain consistent throughout movement—a saddle that pitches forward during downhill work or jumps may cause pinching despite adequate clearance when standing still.
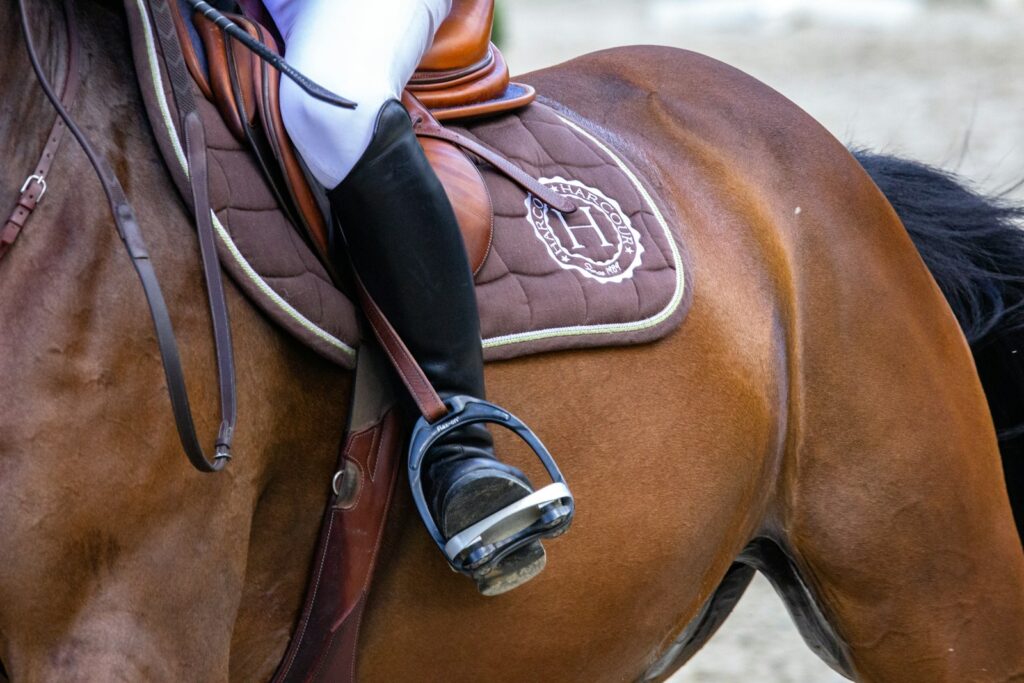
Measuring for Girth or Cinch Size
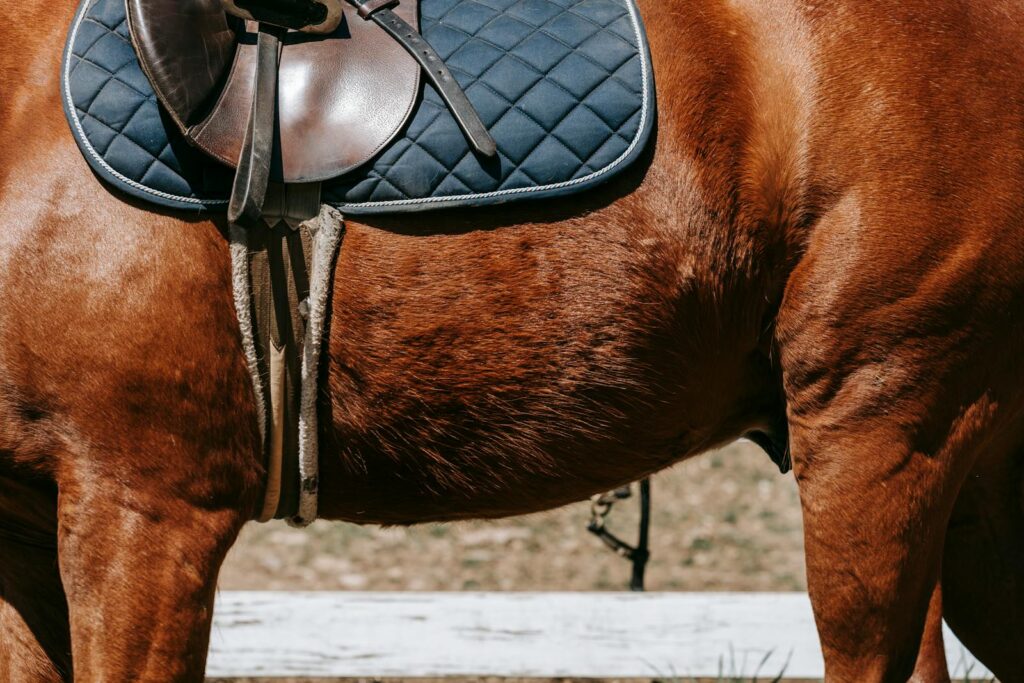
Finding the correct girth or cinch length ensures secure saddle placement without causing restriction or discomfort. To measure for English girths, use a flexible tape to measure from the center of the saddle’s billet straps on one side, under the belly, to the corresponding point on the opposite side while the saddle is properly positioned on your horse’s back. For Western cinches, measure from the center of the rigging ring on one side, under the horse, to the center of the opposite rigging ring. The appropriate girth size allows for the buckles to sit about 4-6 inches above the horse’s elbow, with enough adjustment holes for seasonal changes in your horse’s condition. Remember that different girth styles (straight, contoured, anatomical) may require slight variations in measurement, so consult manufacturer guidelines for specific recommendations.
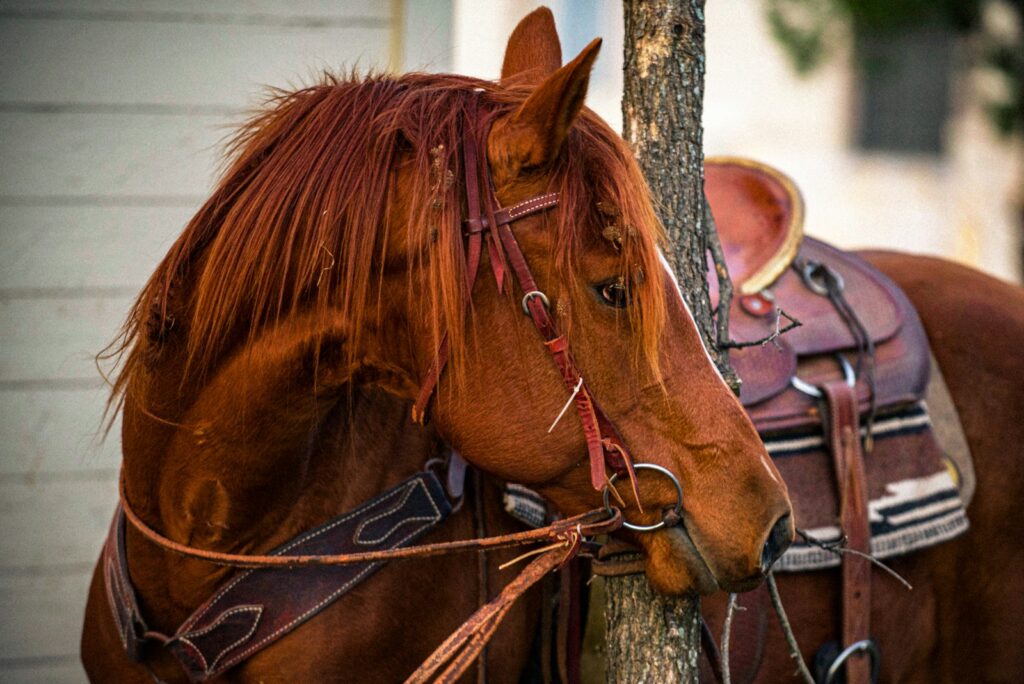
Fitting a Bridle Correctly

A properly fitted bridle enhances communication and prevents painful pressure points around your horse’s sensitive head. To measure for bridle size, take three key measurements: the poll length (from behind one ear, over the poll, to behind the other ear), the cheek length (from the corner of the mouth to just below the zygomatic arch where the cheekpiece would sit), and the throatlatch circumference (from behind one ear, under the throat, to behind the other ear). The browband should lay flat without pulling the headpiece forward or pinching the ears, typically measuring about 1-2 inches longer than the distance across the forehead. When fitted correctly, you should be able to slide two fingers between the noseband and your horse’s nose, and the bit should create one or two wrinkles at the corner of the mouth depending on bit style.
Selecting the Appropriate Bit Size
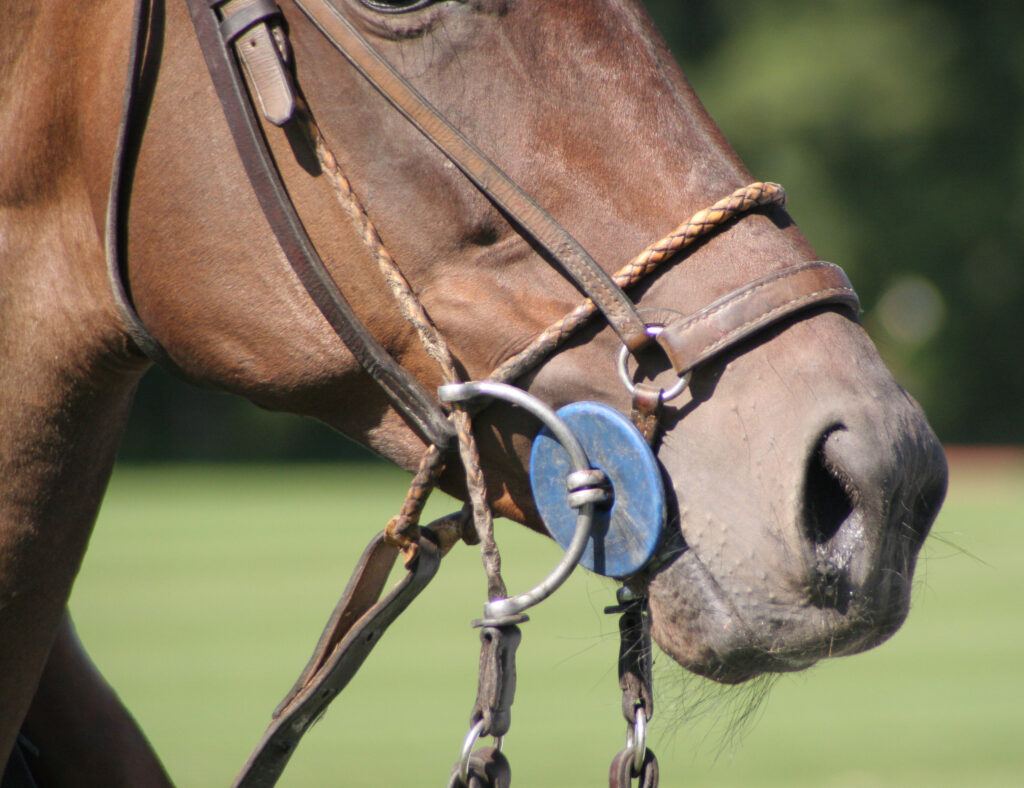
Bit size directly impacts your horse’s comfort and responsiveness to rein aids. To measure for the correct bit width, use a wooden dowel or bit measuring tool placed in your horse’s mouth where the bit would rest, marking the width where the dowel extends just beyond the corners of the lips on each side. Alternatively, measure the width of your horse’s mouth from the outside edges of the lips and add about 1/4 to 1/2 inch for comfort. Standard bit sizes range from 4.5 to 6 inches, with most horses requiring 5 to 5.5 inches, though breed variations exist. The bit should extend about 1/8 to 1/4 inch beyond the mouth on each side—too narrow and it will pinch; too wide and it will slide excessively and may hit the teeth uncomfortably.
Measuring for Breast Collars and Martingales

Breast collars and martingales require precise fitting to provide stability without restricting movement or breathing. For breast collars, measure from the center point where the collar would cross the chest to the D-ring or attachment point on each side of the saddle. The breast collar should rest approximately 4 inches above the point of the shoulder, allowing free forward movement without rubbing against the windpipe or shoulder muscles. For standing martingales, measure from the noseband to the chest strap connection point, ensuring enough slack for the horse to extend his neck fully when jumping or stretching. Running martingales require measurement from the girth through the neck strap to the rein rings, with the rings reaching only to the withers when the reins are released, preventing over-restriction of head carriage.
Accommodating Seasonal Changes in Condition

Horses’ bodies change throughout the year due to work level, nutrition, and seasonal factors, necessitating regular reassessment of tack fit. Spring often brings weight loss after winter coat shedding and increased work, potentially requiring narrower saddle trees or shorter girths than during the plump winter months. Summer muscle development from consistent work may change back shape and saddle fit requirements, particularly around the withers and shoulders. Fall often represents peak fitness and muscle tone for many horses, while winter’s reduced work and heavier coats typically lead to widening measurements. Establish a routine of checking measurements at least quarterly, documenting changes to anticipate adjustment needs and prevent prolonged use of ill-fitting equipment during transitional periods.
Working with Professional Saddle Fitters

While DIY measurements provide valuable information, consulting with a professional saddle fitter offers expert insight and precision that can prevent costly mistakes. Professional fitters bring specialized tools like pressure mats, flexible measuring devices, and comparison templates that reveal subtleties in your horse’s back shape that might otherwise go unnoticed. Most importantly, they provide objective assessment free from wishful thinking about making existing equipment work. When working with a saddle fitter, prepare by having your horse clean, dry, and standing on level ground, and be ready to ride so the fitter can observe dynamic fit under working conditions. Document the fitter’s recommendations, including specific measurements and observations about your horse’s conformation, to guide future equipment purchases and adjustments.
Monitoring for Signs of Poor Fit

Regular observation for signs of ill-fitting tack allows you to address issues before they cause significant problems. After riding, check for dry spots surrounded by sweat patterns, which indicate pressure points where normal sweat evaporation was prevented by excessive contact. Watch for behavioral changes like tail swishing, ear pinning, or reluctance to move forward, which often indicate discomfort from poorly fitted equipment. Physical signs like muscle atrophy along the spine, white hairs developing in saddle areas, or uneven muscle development can signal chronic fit issues. Implement a routine of running your hand under all tack after removal to check for unusual heat, sensitivity, or swelling that might indicate pressure points. Remember that some signs appear immediately, while others develop gradually over weeks or months of inappropriate equipment use.
Interpreting and Utilizing Your Measurements

Once you’ve collected your horse’s measurements, applying this information correctly ensures optimal equipment selection. Create a comprehensive record of all measurements, including dates taken and your horse’s current condition, to track changes over time and identify patterns. When shopping for new equipment, bring these measurements with you, understanding that different manufacturers may have varying sizing standards—a “medium” tree from one brand might correspond to a “wide” in another. Consider these measurements as a starting point rather than absolute determinations, as dynamic fit under riding conditions may reveal needs not evident from static measurements. Most importantly, recognize that proper fit is an ongoing process of adjustment and reassessment as your horse changes physically throughout his life, requiring vigilance and willingness to adapt equipment accordingly.
In conclusion, measuring your horse correctly for saddle and tack fit represents an essential investment in your equine partner’s comfort, health, and athletic performance. Taking the time to understand your horse’s unique conformation and measurement needs pays dividends in improved movement, willingness to work, and prevention of physical problems that could shorten his riding career. While the process might seem technical and time-consuming initially, it becomes more intuitive with practice and observation. Remember that horses, like humans, change physically over time due to age, conditioning, and seasonal factors—making measurement and fit assessment an ongoing responsibility rather than a one-time task. By combining your own careful measurements with professional guidance when needed, you create the foundation for a comfortable partnership that allows both horse and rider to perform at their best.