
Horses are intelligent, athletic animals that thrive on both physical and mental stimulation. Building an obstacle course at your home property offers an excellent way to train, exercise, and bond with your equine companion while keeping them engaged and challenged. An obstacle course provides varied experiences that build your horse’s confidence, improve their responsiveness to cues, and develop their agility and balance. Whether you’re a competitive rider looking to practice for trail challenges or simply want to enrich your horse’s daily routine, a thoughtfully designed home obstacle course can transform ordinary riding sessions into exciting adventures. This comprehensive guide will walk you through everything you need to know about creating a safe, effective, and engaging obstacle course that you and your horse will enjoy for years to come.
Assessing Your Available Space
Before diving into obstacle planning, take a thorough inventory of the space you have available on your property. An ideal obstacle course area should have relatively flat terrain with good drainage to prevent slippery conditions after rain. Measure your available space carefully, noting any natural features like trees, slopes, or water sources that could be incorporated into your course design. Even modest spaces of 40′ x 60′ can accommodate several well-placed obstacles, though larger areas naturally allow for more elaborate setups and better spacing. Consider areas that offer some shade for hot days and ensure the space is free from hazardous elements like protruding rocks, holes, or low-hanging branches that could present safety risks during active riding sessions.
Setting a Realistic Budget
Building an obstacle course doesn’t need to break the bank, as costs can vary tremendously based on your approach. Establish a clear budget early in your planning process, considering both initial construction costs and long-term maintenance. Many effective obstacles can be created using repurposed items like plastic barrels, pallets, logs, and pool noodles, drastically reducing expenses compared to purchasing commercially manufactured equipment. If your budget is limited, prioritize versatile obstacles that can be rearranged or modified to create different challenges over time. For those with more resources, consider investing in durable, weather-resistant materials like treated lumber, heavy-duty plastic, or powder-coated metal components that will withstand years of use and exposure to the elements. Remember to factor in additional costs like ground preparation, drainage solutions, and safety surfacing where needed.
Essential Safety Considerations

Safety must be the cornerstone of your obstacle course design, with every element scrutinized for potential hazards. Ensure all obstacles have smooth edges with no protruding nails, splinters, or sharp corners that could injure your horse. Anchoring is crucial for taller obstacles like standards or bridges to prevent tipping, while ground poles should be sturdy enough not to roll unexpectedly under a horse’s weight. Consider your horse’s experience level and temperament when planning obstacle height and complexity, starting simpler than you think necessary and gradually increasing difficulty as confidence builds. Maintain clear paths between obstacles with sufficient space for a horse to move freely without feeling trapped or crowded. Regular inspection and maintenance of all course elements should become routine practice, checking for structural integrity, loose components, or developing hazards like rotting wood or rusting metal that could compromise safety.
Ground Work Fundamentals
Before mounting up to tackle obstacles, dedicate time to groundwork exercises that establish trust and communication with your horse. Lead your horse through the course at a walk, allowing them to investigate new obstacles through sight, smell, and touch without the pressure of being ridden. Use positive reinforcement when your horse approaches or navigates obstacles willingly, creating positive associations with these novel elements. Practice basic groundwork cues around the obstacles, ensuring your horse remains responsive to directional requests, halts, and backing up even when their attention is divided by environmental stimuli. These foundation sessions build the horse’s confidence while allowing you to identify which obstacles trigger uncertainty or resistance, enabling you to develop specific training approaches for challenging elements. Consistent groundwork creates a psychological framework that makes mounted work significantly more successful and reduces the risk of dangerous refusals or evasive behaviors.
Selecting Appropriate Surface Materials
The footing beneath your obstacle course profoundly impacts both safety and usability throughout different seasons. Ideal surfaces provide consistent traction without being too deep or too hard, with options ranging from compacted crushed stone dust to specially formulated arena mixes designed for equestrian use. Consider your local climate when selecting materials, as regions with heavy rainfall require excellent drainage solutions to prevent mud development, while dry climates may need dust-control measures like regular watering or specialized additives. Areas where horses will be making tight turns or transitions should have particularly good footing to prevent slipping or strained tendons. For obstacles requiring firmer footing like bridges or platforms, ensure these transitions are gradual rather than abrupt to reduce the risk of trips or missteps. Many horse owners successfully use a combination of surfaces throughout their course, with softer footing in high-impact areas and more solid surfaces for precision obstacles.
Creating Basic Ground Pole Configurations
Ground poles represent the most accessible and versatile starting point for any obstacle course, offering nearly endless configuration possibilities while developing your horse’s proprioception and coordination. Begin with straight pole arrangements spaced 4-5 feet apart for walking exercises, allowing your horse to become accustomed to lifting and placing their feet with deliberate attention. Once comfortable with straight lines, advance to fan patterns where poles are placed closer together on one end and wider on the other, encouraging the horse to adjust their stride length through the pattern. Incorporate serpentine arrangements where poles are offset in gentle curves, developing lateral flexibility and responsiveness to subtle steering cues. For more advanced training, create raised ground pole exercises by elevating one or both ends of poles 8-12 inches off the ground using specialized risers or secured cinder blocks, which increases the degree of lift required from the horse’s legs and engages different muscle groups for improved athletic development.
Constructing a Safe Bridge Element
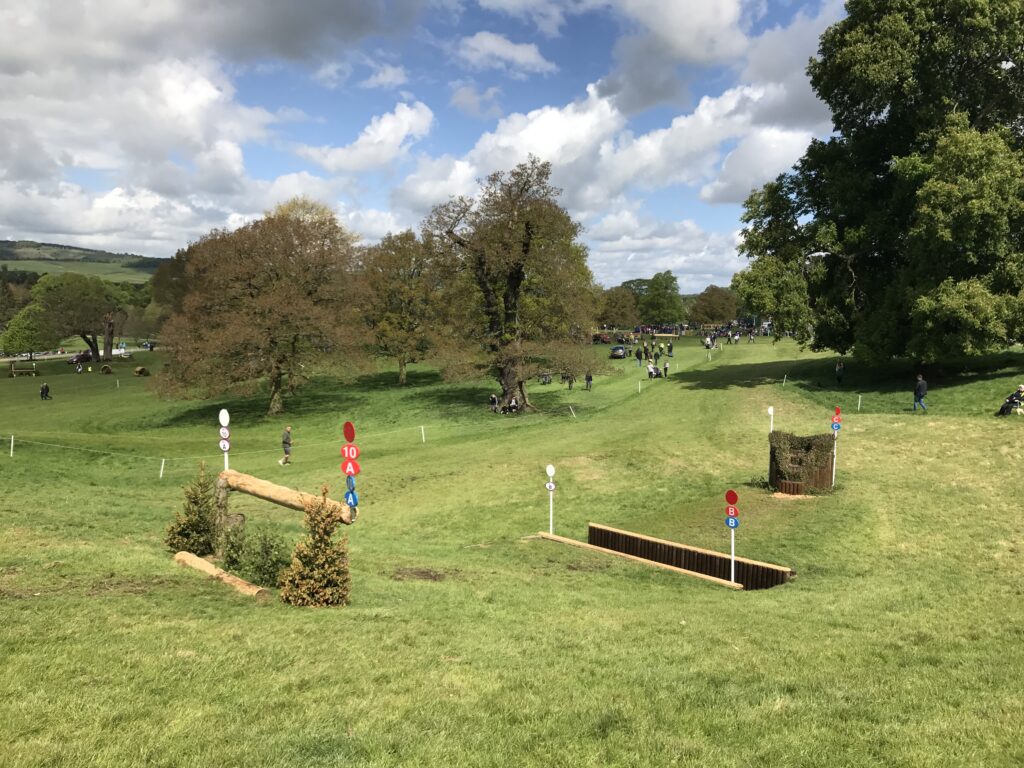
A bridge obstacle provides excellent training for water crossings, trailer loading, and general confidence building, teaching horses to trust unfamiliar surfaces beneath their feet. Construct your bridge with a solid foundation using pressure-treated 4×4 posts and 2×6 support beams that can easily bear a horse’s weight without flexing or creating alarming sounds. The walking surface should be at least 3-4 feet wide and 8 feet long, constructed from 2-inch thick planks secured perpendicular to the direction of travel to provide natural traction. Add low side rails approximately 12 inches high for visual guidance without creating a dangerous catch point for legs. The approach and exit ramps should feature a gentle slope (no steeper than 20 degrees) with cleats or strips of non-slip material spaced approximately 10-12 inches apart to prevent slipping. Weatherproof all wooden components with non-toxic sealants and conduct regular strength tests by walking across the bridge yourself before introducing your horse to ensure structural integrity.
Designing an Effective Back-Through Station
Back-through stations develop your horse’s responsiveness to subtle cues while improving their spatial awareness and confidence moving backward, a crucial skill for trailer loading and practical handling situations. Create a basic L-shaped or straight back-through using round pen panels, wood rails, or even plastic barrels placed approximately 4 feet apart, allowing enough room for your horse to navigate without feeling claustrophobic while still requiring precision. For horses new to backing exercises, start with a wider configuration and gradually narrow the space as their confidence and accuracy improve. Ensure all components are highly visible with no sharp edges or protruding elements that could catch a hoof or leg during the backward movement. Once your horse masters a straight back-through, introduce more challenging patterns like zigzags or semicircles that require increased body control and responsiveness to directional aids. Advanced variations can incorporate backing up slight inclines or over ground poles, further challenging your horse’s balance and coordination while moving in reverse.
Incorporating Water and Sensory Challenges
Sensory obstacles play a vital role in developing a bombproof horse that remains calm and responsive in varied environments. Create a dedicated water crossing using a heavy-duty pond liner set into a shallow depression with packed clay or sand edges to prevent punctures, keeping the water depth modest at 3-8 inches for safety. For horses particularly hesitant about water, start with a damp tarp before progressing to standing water. Integrate sensory elements like hanging pool noodles, fluttering flags, or streamers that horses must walk through, placed high enough to brush their withers but not face to avoid eye injuries. Sound-based obstacles might include walking over tarps, crinkly materials, or specially designed rattle bridges that create noise with each step. Consider adding aromatherapy challenges by placing strongly scented objects like essential oils on cotton balls near certain obstacles, teaching your horse to proceed confidently despite unusual olfactory stimulation. These sensory stations become invaluable preparation for trail riding, competitions, or navigating unexpected real-world situations.
Building Elevated Platform Stations
Platform obstacles challenge your horse’s balance and confidence while teaching them to place their feet deliberately in specific locations. Construct a solid platform approximately 8 feet square using pressure-treated 2×6 lumber for the frame, reinforced with cross bracing and covered with 3/4-inch plywood sheeting for the standing surface. The height should remain modest for safety—typically 8-12 inches—with wide, gently sloped ramps for mounting and dismounting the platform. Apply textured paint mixed with fine sand or specialized non-slip coating to the surface to provide secure footing in all weather conditions. Start by asking your horse to place just the front feet on the platform before progressing to having all four feet upon it, rewarding even small accomplishments during the learning process. Once comfortable standing still, practice transitions like walking onto the platform, halting, and backing off, advancing eventually to more complex maneuvers like pivoting or turning while maintaining all four feet on the platform. This obstacle exceptionally develops proprioception, balance, and precise foot placement that transfers to improved performance in all riding disciplines.
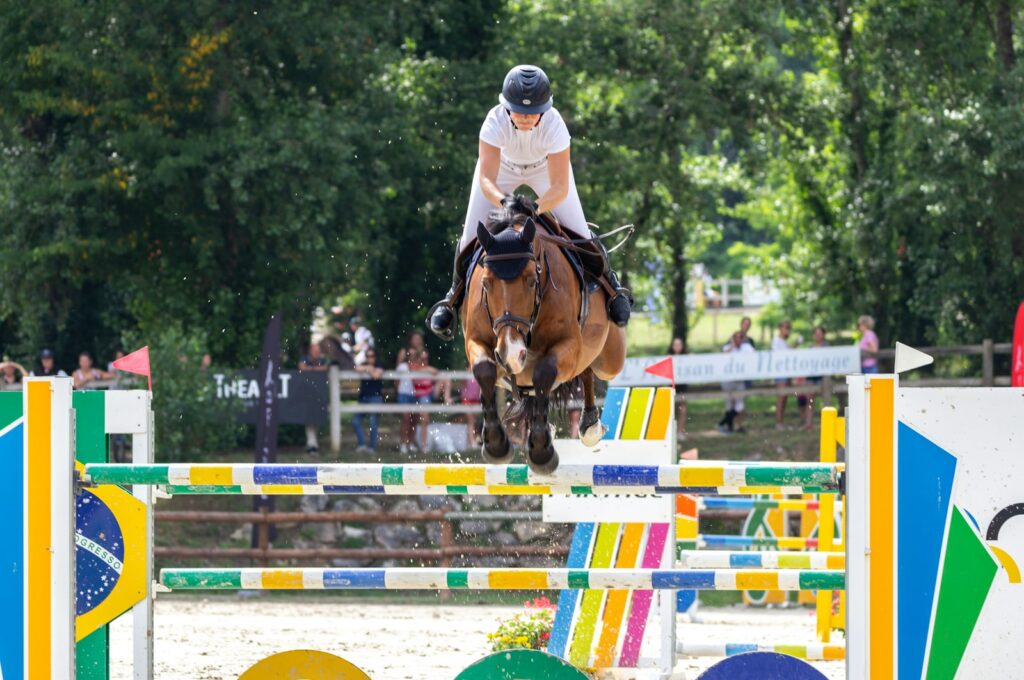
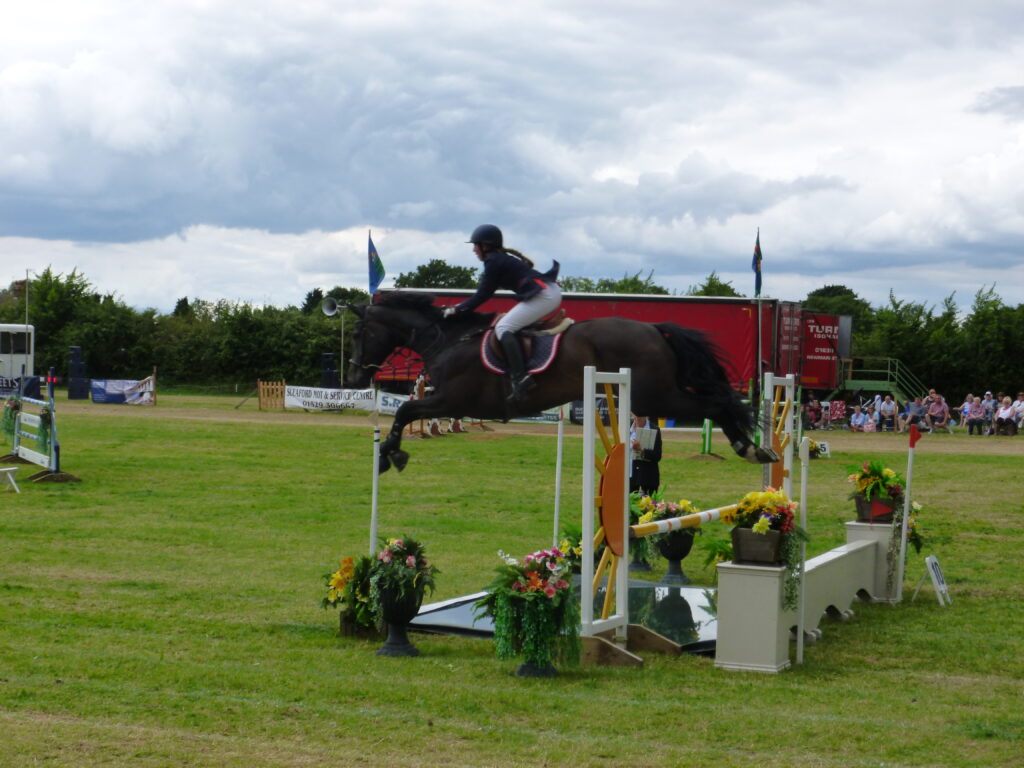
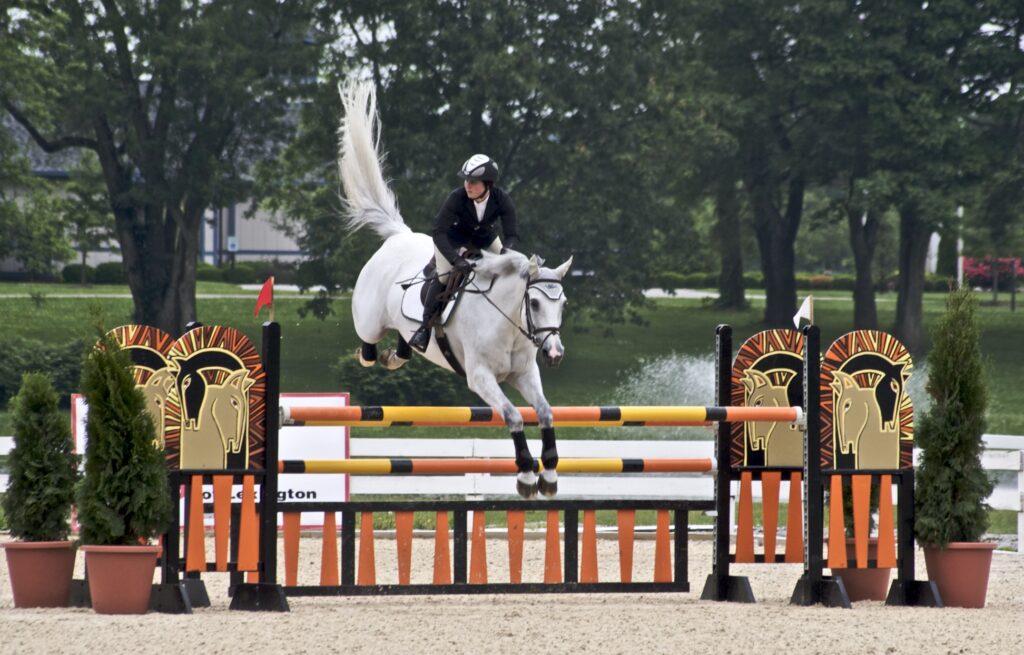
Creating Versatile Jump and Cavaletti Arrangements
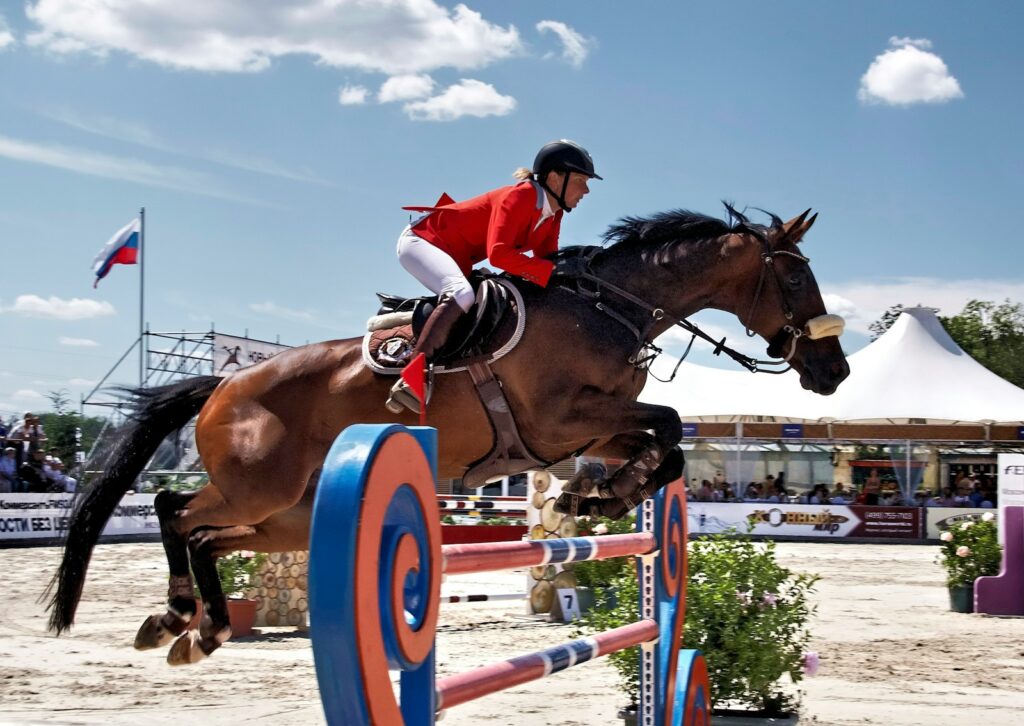
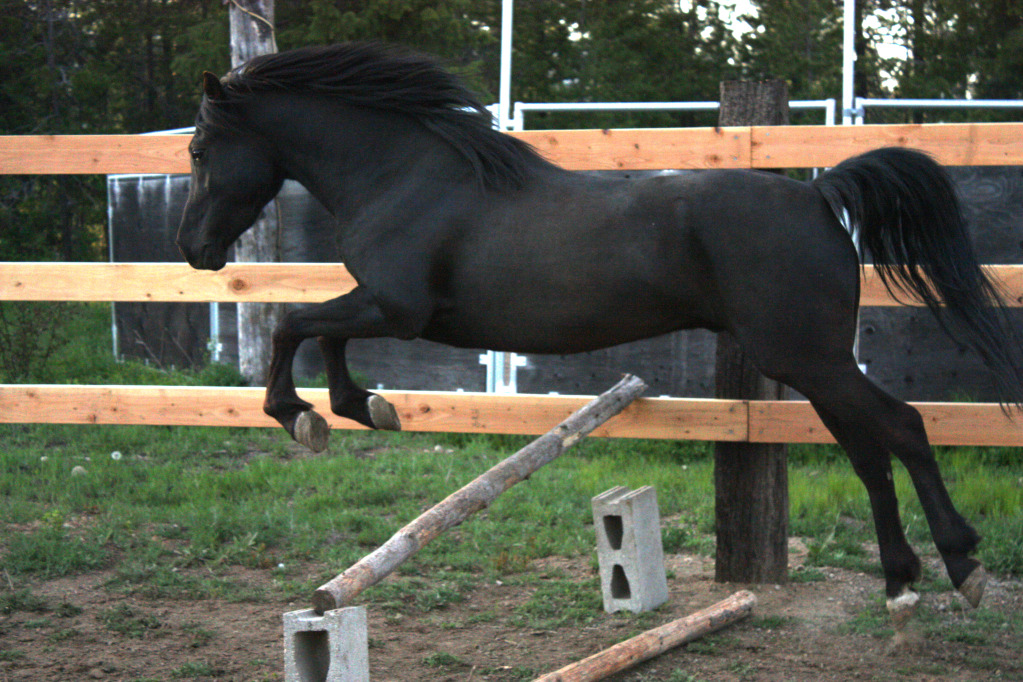
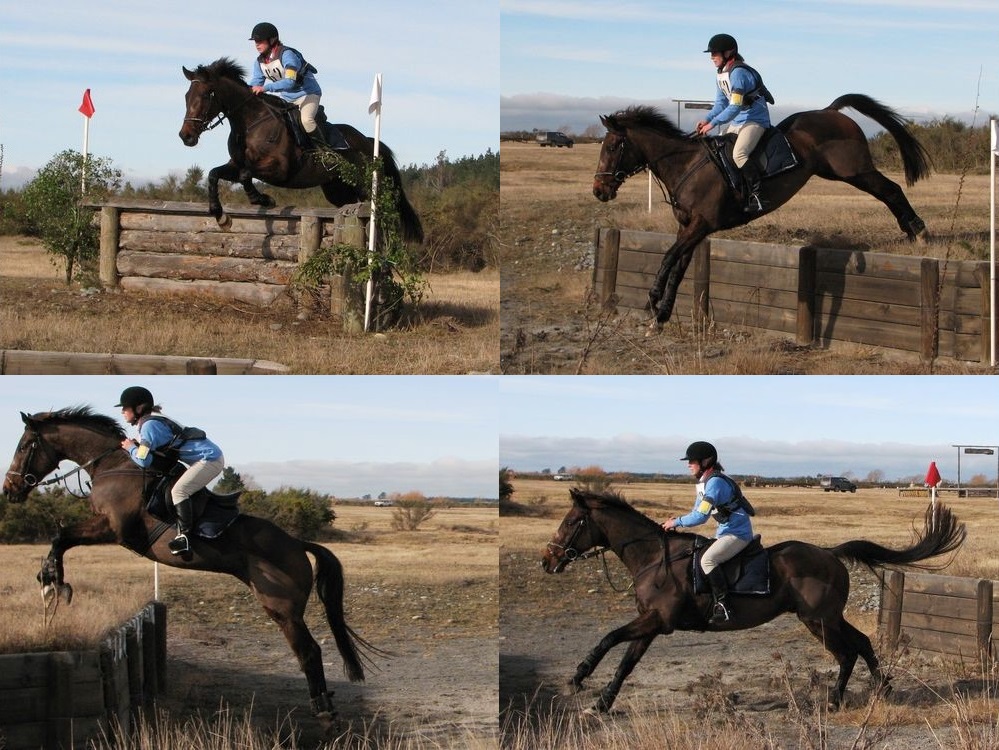
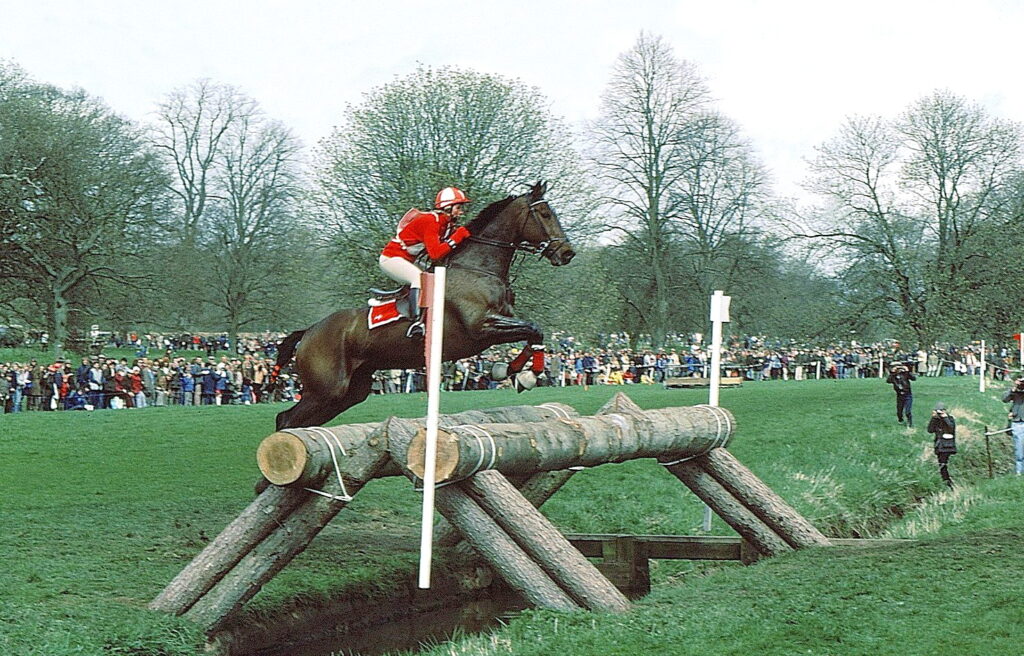
Jump components offer tremendous versatility for horses of all training levels, serving as step-over obstacles for beginners or genuine jumping challenges for more advanced equines. Build adjustable jump standards using pressure-treated 4×4 posts with holes drilled at 3-inch intervals to accommodate jump cups that can be repositioned to various heights. Create colorful jump poles from 4-inch diameter PVC pipes painted in contrasting patterns, which are lighter and safer than wooden rails should they be knocked down. For maximum training value, design your jump components to be multi-functional—standards can support poles at varying heights as jumps or be positioned narrowly as lane markers for precision exercises. Cavaletti poles set low (8-12 inches) develop rhythm and consistent striding without the stress of actual jumping, making them excellent conditioning tools for horses of all disciplines. Arrange these elements in lines, grids, or scattered patterns throughout your course, adjusting heights and spacing to create progressive challenges that develop your horse’s bascule, timing, and jumping confidence over time.
Designing Side-Pass and Precision Elements
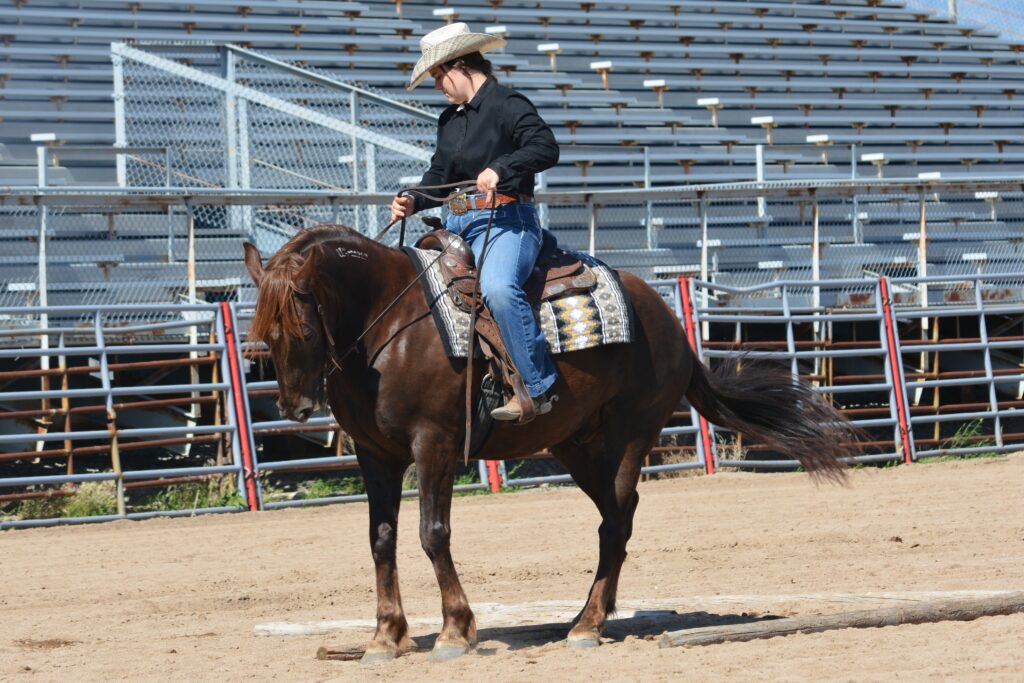
Side-passing obstacles develop lateral movement skills crucial for advanced riding while teaching horses to move their bodies in coordinated, deliberate ways. Create a basic side-pass rail using a sturdy log or 4×6 pressure-treated beam secured slightly off the ground (6-8 inches) so it won’t roll, requiring your horse to step carefully over it while moving sideways. For more advanced training, construct an L-shaped or Z-shaped configuration that requires changes of direction while maintaining the lateral movement. Precision gates offer another excellent lateral training opportunity—install a simple rope gate with a loop closure that requires riders to approach, open, navigate through while holding the gate, and secure it closed without dismounting. Traffic cone patterns arranged in specific formations challenge precision riding, with exercises like weaving patterns or picking up and placing objects from cone to cone. These elements collectively develop the horse’s understanding of leg aids, body control, and the ability to position their body exactly where needed—skills that enhance performance across all riding disciplines from dressage to ranch work.
Maintaining and Evolving Your Course
A successful obstacle course requires ongoing maintenance and periodic refreshing to provide continued challenge and engagement for your horse. Establish a regular inspection schedule to check for structural issues like loose screws, splintering wood, or unstable footing that could create safety hazards. Preserve wooden elements by applying non-toxic sealant annually and store portable components under cover during extreme weather when possible. Keep your course evolving by regularly rearranging obstacle configurations or introducing new elements every few weeks to prevent your horse from becoming overly familiar or bored with the challenges. Document your horse’s progress through the course, noting which obstacles present consistent difficulties and which are navigated with ease, using this information to design targeted training sessions. Consider seasonal adaptations like focusing on water and sensory obstacles during summer months when horses can dry quickly, and emphasizing raised poles and platforms during wet seasons when ground conditions may be less ideal. Treating your obstacle course as a dynamic training system rather than a static set of challenges ensures continued development and engagement for both horse and rider.
Conclusion
Creating a home obstacle course for your horse represents an investment in their physical and mental development that pays dividends in improved performance, confidence, and partnership. By thoughtfully designing challenges that progressively build skills while maintaining safety as the top priority, you create opportunities for meaningful training sessions regardless of your riding discipline or goals. Remember that the journey through obstacle training often teaches riders as much as it teaches horses—developing patience, creativity, and precise communication skills that transfer to all aspects of horsemanship. Start simple, celebrate small victories, and continuously evolve your course to match your horse’s developing abilities. With consistent practice and positive reinforcement, you’ll discover that obstacle work not only improves technical riding skills but deepens the trust and communication that form the foundation of the special relationship between horse and human.